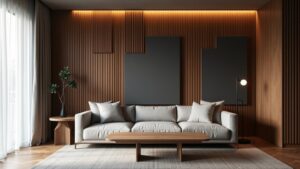
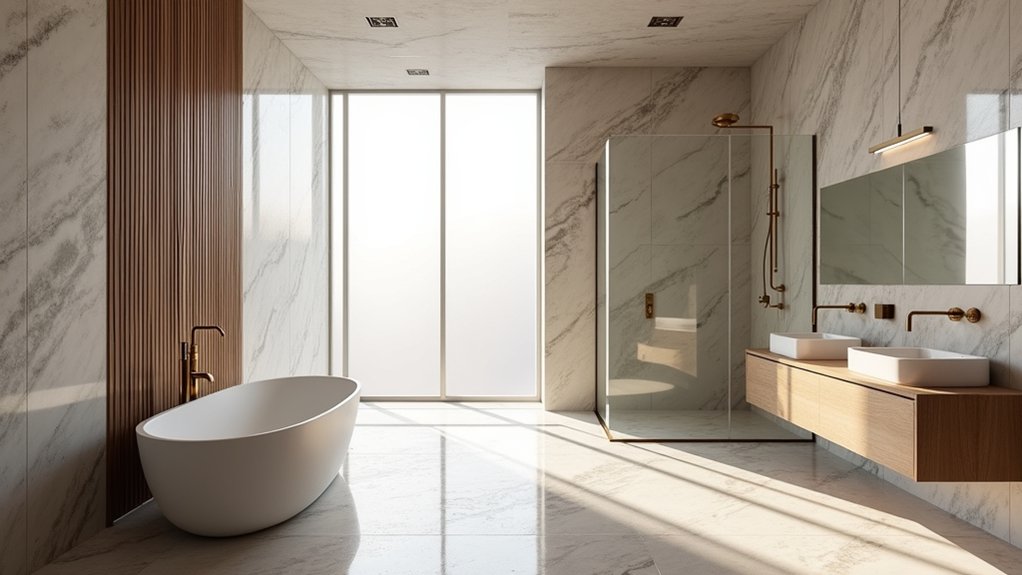
Just as you’re updating your bathroom fixtures, you may find that the right cladding transforms the entire space. Start by comparing large-format porcelain, acrylic, PVC, and waterproof panels for durability, moisture resistance, and cleaning requirements. You can create a calm spa effect with neutral tones, add warmth with wood-effect finishes, or introduce contrast through a textured feature wall. Ceiling cladding, pattern alignment, and sealed joints also matter—but the best choice depends on how your fixtures, lighting, and daily maintenance needs work together.
Key Takeaways
- Choose waterproof PVC, acrylic, porcelain, or laminate panels for durable, moisture-resistant bathroom walls.
- Use large-format, grout-free cladding to create a seamless appearance and simplify cleaning.
- Create feature walls with marble effects, geometric patterns, textured finishes, or bold colours behind showers, baths, or basins.
- Select vertical panels to emphasize ceiling height or horizontal layouts to make narrow bathrooms appear wider.
- Coordinate cladding colours and finishes with fixtures, seal joints carefully, and ensure effective ventilation to prevent mould.
Modern Bathroom Cladding Styles

Modern bathroom cladding combines clean lines, durable materials, and moisture-resistant construction to create a practical, contemporary finish. You can choose large-format PVC, acrylic, or porcelain panels to reduce grout joints and simplify cleaning.
Select matte surfaces when you want to hide water marks, or use gloss finishes to reflect light in compact rooms. Neutral shades, including white, grey, and stone, provide a versatile base, while bold colours create a controlled feature wall.
You can also reinterpret Vintage mosaics through printed panels that deliver detailed patterning without extensive installation time. Alternatively, geometric patterns add structure and visual depth; align them carefully around fixtures for a balanced result.
Check each product’s fire rating, waterproofing requirements, cutting method, and compatibility with your existing wall before installation.
Spa-Inspired Bathroom Cladding Designs
Create a spa-like bathroom with cladding that replicates natural stone, such as marble, slate, or travertine.
Choose calming neutral tones—beige, soft grey, or warm white—to reflect light and maintain a balanced atmosphere.
You’ll also benefit from moisture-resistant panels that provide the stone aesthetic with simpler installation and maintenance.
Natural Stone Finishes
Natural stone finishes bring spa-inspired warmth and texture to bathroom walls while providing a durable surface for wet areas. Choose porcelain panels that replicate marble, slate, or travertine when you want lower maintenance and consistent performance.
For genuine stone, check the material’s porosity, slip resistance, and compatibility with moisture before installation. Natural stone textures add tactile depth, but they can trap soap residue if the surface is heavily cleft or unsealed.
Ask your installer to use a waterproof backer, flexible adhesive, and movement joints around corners and large panels. Seal porous surfaces after fitting, then reapply the recommended sealer according to the manufacturer’s schedule.
Organic stone patterns vary from tile to tile, so dry-lay pieces first to balance veining and maintain a cohesive composition across your walls without overwhelming the room.
Calming Neutral Tones
Calming neutral tones—such as warm white, beige, greige, and soft taupe—help you create a spa-inspired bathroom with a quiet, cohesive appearance. Use large-format wall cladding to reduce grout lines and make the room feel more spacious.
Matte or lightly textured finishes provide a natural, tactile surface while minimizing glare and water marks. Apply color psychology by selecting warm undertones for comfort, or cooler greige shades for a clean, contemporary effect.
Coordinate panels with pale stone-look flooring, timber accents, and brushed brass or chrome fittings. Consider how ambient lighting changes each color before installation; warm LEDs enhance beige and taupe, while neutral LEDs keep white and greige balanced.
Choose waterproof, low-maintenance cladding with sealed joints, particularly around showers and baths. This approach combines visual calm with practical durability.
Wood-Effect Cladding for Warmth
Wood-effect cladding adds the warmth and texture of timber without exposing natural wood to constant moisture. You can introduce wood accents through waterproof panels that replicate timber textures while resisting splashes, steam, and everyday cleaning.
Choose a product with a sealed, non-porous surface and moisture-resistant core, particularly for shower walls and areas behind basins. Check the manufacturer’s installation guidance, as some panels require ventilation gaps, compatible adhesives, or sealed joints.
Use vertical boards to make a low ceiling appear taller, or run panels horizontally to visually widen a narrow room. Pair warm oak, walnut, or smoked finishes with neutral sanitaryware and understated fittings for balance.
You’ll achieve a natural appearance without sanding, staining, or frequent resealing. Clean the surface with a soft cloth and pH-neutral detergent to protect its finish.
Marble-Effect Cladding for a Luxe Look
Choose marble-effect cladding with realistic veining to introduce an elegant, high-end finish to your bathroom. You’ll achieve the look of natural stone without sealing, polishing, or managing its porosity.
Select moisture-resistant panels with durable, easy-clean surfaces for practical luxury.
Elegant Veined Finishes
For a luxurious bathroom finish, marble-effect cladding brings realistic veining and polished texture without the maintenance demands of natural stone. Choose veined marble patterns with fine, directional lines to create visual movement across shower walls or behind a freestanding bath.
If you prefer a bolder statement, select slabs with broad grey, gold, or charcoal veins, then limit surrounding finishes to maintain balance. Textured quartz effects can add subtle depth while coordinating with brushed brass, matte black, or chrome fittings.
Check each panel’s veining before installation, and plan joins so the pattern flows naturally around corners. Large-format boards reduce interruptions and help your bathroom appear more spacious.
Use calibrated panels and precise trims to achieve clean edges, especially around niches, outlets, and basins. Always confirm the product suits wet-area installation and follow the manufacturer’s fixing guidance.
Luxury Without Maintenance
Marble-effect cladding gives your bathroom the polished appearance of natural stone without sealing, polishing, or managing porous surfaces. You can select large-format panels to reduce grout lines, limiting areas where soap residue, mould, and moisture collect.
Waterproof PVC, acrylic, or engineered composite options install over suitable substrates, helping you refresh walls without extensive demolition. Choose a matte surface for improved slip resistance on adjacent floors, or specify a high-gloss finish to reflect light in compact rooms.
Check the panel’s water-resistance rating, fire classification, and cleaning guidance before purchase. Eco-friendly materials, including recycled-content composites, can lower environmental impact without sacrificing durability.
Vintage-inspired finishes suit period properties, while realistic veining creates visual depth. Use neutral grout-compatible trims and seal perimeter joints correctly to prevent water ingress and preserve the finish.
Bold Bathroom Cladding Feature Walls
Bold bathroom cladding feature walls create a strong focal point while protecting surfaces from moisture and daily wear. Choose a bold accent behind the basin, bath, or shower to define the room’s visual centre. Large-format panels reduce grout lines, making the statement wall easier to clean and giving patterns greater impact.
Check each panel’s waterproof rating, surface finish, and compatibility with bathroom temperature changes before installation. Use moisture-resistant backing boards and seal joints, corners, and penetrations with the manufacturer’s recommended products.
Coordinate the cladding with fittings, lighting, and flooring, but keep surrounding surfaces restrained so the feature remains dominant.
You’ll find textured stone effects, geometric prints, marble patterns, and metallic finishes particularly effective. Plan panel layouts carefully, aligning prominent veins or motifs before adhesive application.
This approach creates a durable, precisely finished focal point without relying on paint or wallpaper.
Small Bathroom Cladding Ideas
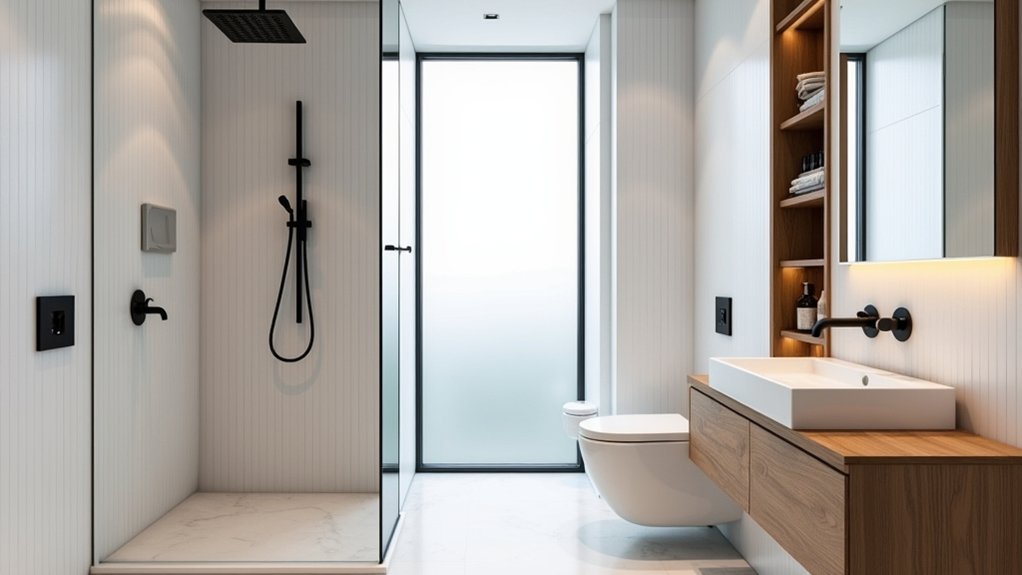
How can small bathrooms feel more spacious while remaining practical? Choose cladding with light colours, reflective finishes, and slim visual joints to increase perceived volume. Large-format panels reduce grout lines, creating a calmer, more continuous surface that’s easier for you to clean.
Install them vertically to make low ceilings appear taller, or align horizontal detailing to visually widen narrow walls. Use one consistent material across several surfaces, but add contrast through a carefully sized vanity or shelving unit.
Vintage tiles can introduce character without overwhelming the room when you limit them to a narrow border or compact feature area. Alternatively, geometric patterns create structure; select small-scale designs and restrained colours to prevent visual clutter.
Measure accurately before ordering, allowing for cuts, movement gaps, and access around fixtures. Verify that your chosen cladding suits bathroom humidity and cleaning products.
Shower Wall Cladding Ideas
You can choose waterproof shower panels in finishes such as marble effect, tile effect, or sleek matt colours.
Textured cladding adds visual depth, while slip-resistant surfaces can improve safety in wet areas.
For easier maintenance, select non-porous, grout-free panels that resist mould and clean quickly.
Waterproof Panel Styles
Waterproof wall panels give your shower a clean, low-maintenance finish while protecting the substrate from moisture. Choose materials according to your budget, installation method, and maintenance needs.
Acrylic panels provide a seamless surface with strong resistance to water and household cleaners. Their light weight makes them suitable for renovations, though you’ll need accurate cutting around valves and pipework.
PVC cladding offers an economical, lightweight alternative, and interlocking profiles can speed installation over a sound, level backing. Check each manufacturer’s specifications for panel thickness, adhesive compatibility, and maximum temperature ratings.
Seal internal corners, joints, and penetrations with the recommended sanitary-grade sealant to prevent water ingress.
Before fitting, confirm that the wall is plumb and dry.
Select gloss or satin finishes to control cleaning effort and coordinate your bathroom’s color scheme.
Textured Shower Wall Ideas
Textured shower wall cladding adds visual depth while helping define the shower area. You can create this effect with embossed panels, fluted surfaces, stone-effect sheets, or three-dimensional tiles.
Choose Textured wall accents that complement your bathroom’s proportions; vertical grooves can make a low ceiling appear taller, while horizontal relief can visually widen a narrow enclosure.
Patterned tile options, including geometric, botanical, or herringbone layouts, introduce a controlled focal point without overwhelming the room.
Before installation, check that the substrate is flat, stable, and suitable for the chosen cladding system. Plan grout lines, corner trims, and cutouts around valves carefully to maintain alignment.
Use contrasting textures selectively on one feature wall, or repeat a subtle relief across the enclosure for a cohesive, balanced finish. Confirm every joint is properly sealed.
Easy-Clean Cladding Options
Easy-clean shower wall cladding minimizes grout lines and provides a smooth, nonporous surface that resists soap scum, limescale, and mould. Choose compact laminate, acrylic, PVC panels, or large-format porcelain slabs for practical shower wall ideas.
Their sealed surfaces prevent moisture penetration, while tongue-and-groove or adhesive installation reduces joints where dirt can collect. You’ll maintain them with a soft cloth, mild bathroom cleaner, and non-abrasive sponge; avoid harsh chemicals that could dull the finish.
For Eco friendly materials, consider recycled PVC, responsibly sourced laminate, or porcelain containing recycled content.
Budget friendly options include waterproof PVC panels and standard acrylic sheets, which deliver easy maintenance without the cost of stone.
Check each product’s waterproof rating, fire classification, panel thickness, and manufacturer’s sealing requirements before installation.
Proper ventilation will further limit condensation and mould growth.
Best Cladding Options for Bathroom Ceilings
Choose moisture-resistant cladding for your bathroom ceiling to prevent swelling, mould growth, and surface damage. PVC panels provide a lightweight, waterproof solution that you can cut and install over sound substrates. They’re available in various thicknesses, but select rigid panels to reduce flexing and visible joints.
Aluminium composite panels offer excellent dimensional stability and resist corrosion when condensation is persistent. For a warmer appearance, use sealed, moisture resistant materials such as treated timber panels, provided the manufacturer approves them for humid rooms.
Install a vapour-resistant backing where required, and seal perimeter edges, penetrations, and panel joints with sanitary-grade sealant.
Effective ceiling ventilation remains essential: run an adequately sized extractor during bathing and afterward, and keep air inlets unobstructed.
Always follow fire-rating and installation requirements.
How to Match Cladding to Bathroom Fixtures
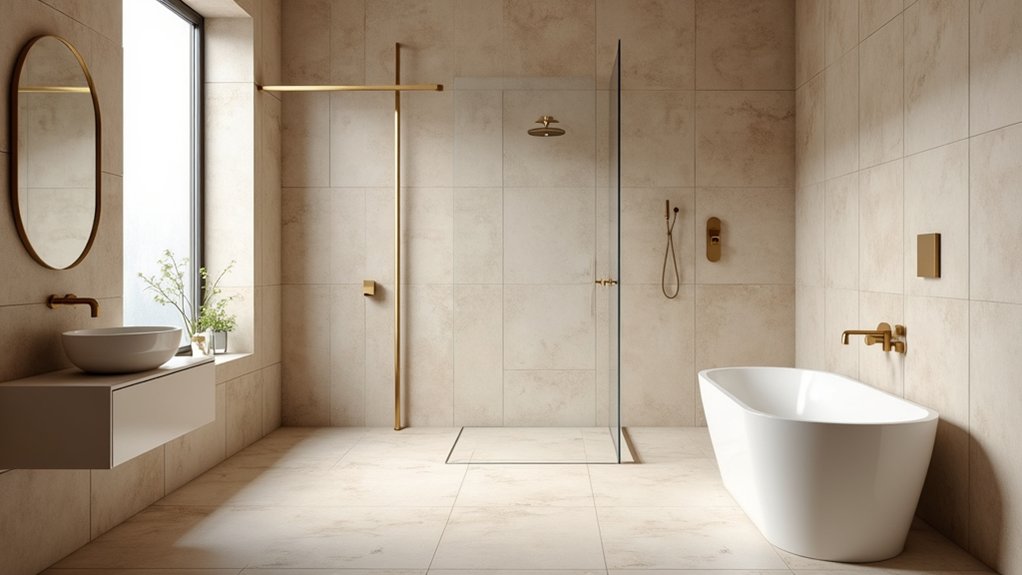
Coordinate bathroom cladding with your fixtures’ finishes, colours, and proportions to create a cohesive scheme. Start with the dominant fixture finish, such as chrome, brushed brass, or matte black, then select panels that support its visual temperature. Cool grey cladding complements chrome, while warm stone tones balance brass.
For matte-black taps, consider light, textured panels to provide contrast without overwhelming the room.
Use Color coordination deliberately: repeat one fixture colour in grout lines, trims, or a subtle panel pattern rather than matching every surface. Fixture matching also involves scale. Pair large-format cladding with streamlined fittings in spacious bathrooms, and choose smaller patterns around compact basins or showers.
Align panel joints with fixture edges where possible, creating orderly sightlines. Sample materials beside your actual fittings before installation to verify colour and proportion.
Which Cladding Is Easiest to Clean?
Once your cladding complements the fixtures, consider how easily each surface handles soap residue, limescale, and moisture.
Large-format porcelain tiles usually offer excellent stain resistance because their non-porous surface limits absorption. You’ll typically need only a pH-neutral cleaner and a soft cloth; fewer grout joints also reduce maintenance.
Acrylic and PVC panels provide similarly simple cleaning, with continuous surfaces that prevent buildup around joints. Avoid abrasive pads, bleach-heavy products, and harsh solvents, which can dull finishes or damage protective coatings.
Natural stone demands more care: seal it regularly and use stone-safe products to prevent etching and staining.
Your cleaning frequency depends on ventilation, water hardness, and household use. Wipe wet areas after bathing, remove deposits weekly, and inspect sealant around edges to maintain hygiene and appearance.
Frequently Asked Questions
How Much Does Bathroom Cladding Installation Typically Cost?
You’ll typically pay $1,500–$4,000 for bathroom cladding installation, depending on size, labor, and preparation. Compare your cost comparison carefully: material options, waterproofing requirements, panel quality, removal, and regional rates can substantially affect the final quote.
Can Bathroom Cladding Be Installed Over Existing Tiles?
Yes, you can install bathroom cladding over existing tiles if they’re firmly bonded, dry, and level. Skip Tile removal, but complete thorough Surface preparation, repair damage, clean thoroughly, and use compatible adhesive for lasting results.
How Long Does Bathroom Cladding Usually Last?
You can expect bathroom cladding to last 10–30 years, depending on material durability, installation quality, moisture exposure, and maintenance. Choose suitable aesthetic options, seal joints properly, and clean surfaces regularly to maximise service life.
Is Professional Installation Required for Bathroom Cladding?
You don’t always need professional installation, but you’ll achieve better waterproofing, alignment, and durability with an experienced installer. DIY suits simple panels; complex layouts require precision, improving aesthetic enhancement and design versatility while preventing costly moisture damage.
Can Damaged Bathroom Cladding Panels Be Repaired or Replaced?
Yes, you can repair minor damage with manufacturer-approved filler, but you’ll usually replace cracked or warped panels. Check Cladding material options, match profiles, seal joints, and follow Maintenance and cleaning guidance to prevent recurrence.
Conclusion
With the right bathroom cladding, you can turn hard-working surfaces into a cohesive retreat. Picture large-format porcelain flowing from wall to floor, wood-effect panels adding warmth, or marble-effect sheets catching the light without demanding constant upkeep. Choose nonporous, moisture-resistant materials, align patterns carefully, and seal every joint properly. Coordinate colors with your fixtures, then select easy-clean ceiling and shower panels. Done well, your bathroom will feel brighter, stay drier, and remain beautiful for years.