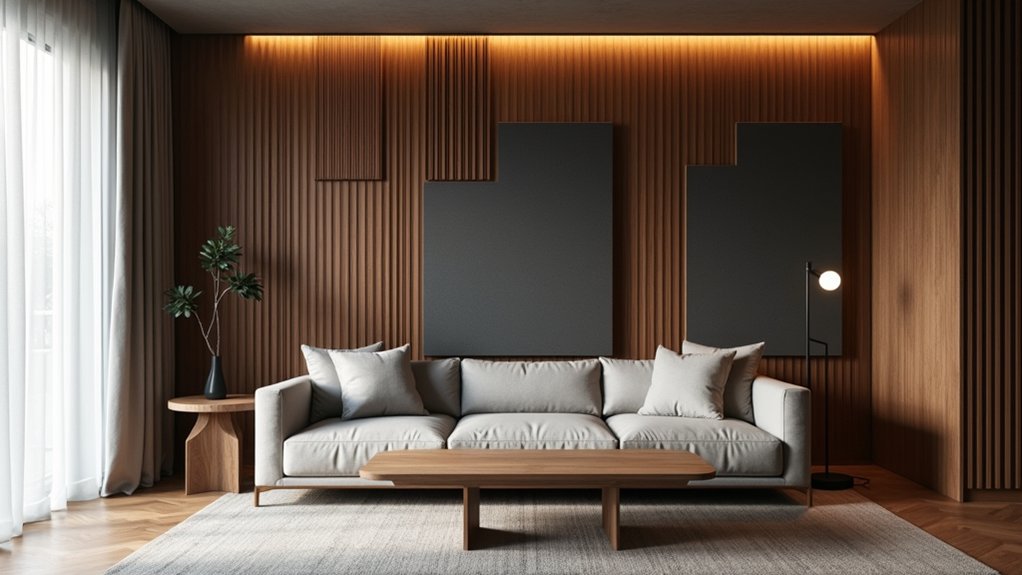
Think of acoustic wall panels as a room’s quiet architecture: they shape how sound moves while defining the space’s visual character. You can use wood slats for warmth, geometric panels for structure, or fabric finishes for color and absorption. Before choosing a style, consider the room’s reverberation, surface area, and installation limits. The right layout can turn a treatment plan into a feature wall, but placement and performance still require careful comparison.
Key Takeaways
- Create a warm feature wall with wood slat panels over PET felt for natural texture and sound diffusion.
- Use geometric acoustic panels as colorful focal points in offices, studios, living rooms, or entertainment spaces.
- Combine fabric-wrapped panels in coordinated colors or patterns to control reflections while adding visual rhythm.
- Place panels at first-reflection points, sidewalls, ceilings, and behind speakers or desks for better acoustic performance.
- Layer decorative finishes over rated acoustic cores, checking NRC ratings, thickness, maintenance needs, and room conditions.
Know What Acoustic Wall Panels Do
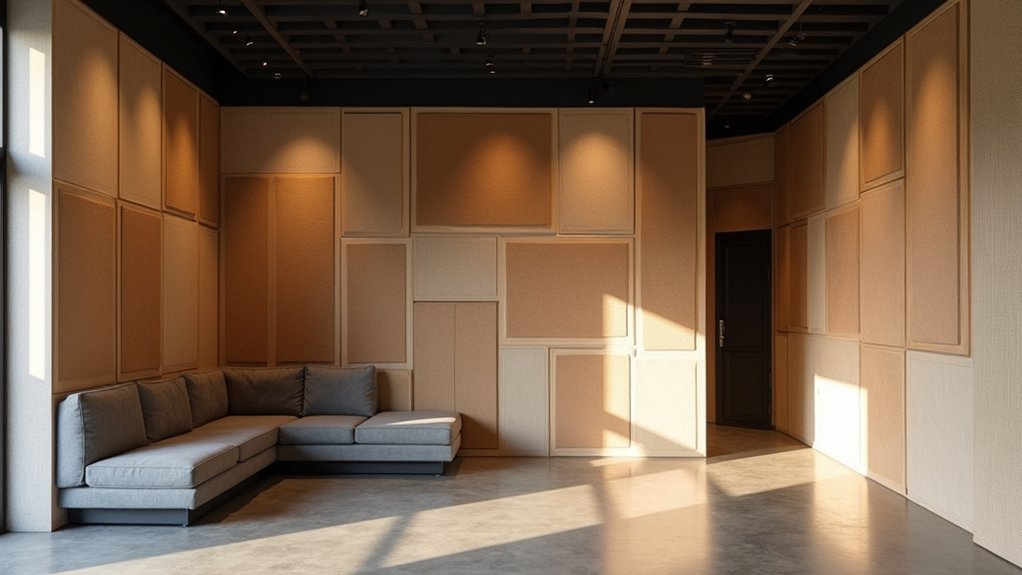
Acoustic wall panels absorb sound energy, reducing reverberation and limiting unwanted reflections within a room. When you install them, you improve speech intelligibility, recording accuracy, and listening comfort without altering the room’s structure.
Porous cores, such as mineral wool or fiberglass, convert air movement into small amounts of heat, lowering mid- and high-frequency reflections. Panels won’t block sound transmission through walls, ceilings, or doors, so don’t treat them as complete sound barriers.
However, they provide meaningful Soundproofing benefits by controlling interior noise and reducing buildup. Evaluate the room’s dimensions, surfaces, occupancy, and noise sources before selecting Acoustic treatment options.
Place coverage near reflection points, including sidewalls and the ceiling, then verify performance with listening tests or acoustic measurements. You’ll achieve balanced sound rather than simply making the room quieter.
Compare Acoustic Wall Panel Styles
Compare slatted and fabric panels by weighing their appearance, absorption performance, installation method, and maintenance needs.
You’ll also need to distinguish decorative panels, which prioritize visual design, from performance panels, which target measurable sound reduction.
Evaluate each style against your room’s acoustical requirements, layout, and budget.
Slatted Versus Fabric Panels
When choosing between slatted and fabric acoustic panels, consider how each style balances sound absorption, visual impact, durability, and installation requirements.
Slatted panels typically use wood strips over an acoustic backing. The open spacing helps scatter sound, while the backing absorbs mid- and high-frequency reflections. You’ll usually need accurate wall measurements and careful alignment during installation.
Fabric panels contain a rigid absorptive core wrapped in acoustically transparent textile, so they often provide broader absorption with simpler mounting.
Compare material durability before deciding: wood finishes resist scuffs, while fabric can show stains, snags, or fading. Review maintenance requirements, too. You can dust slats and wipe finished surfaces, but you may need vacuuming or professional cleaning for fabric.
Choose based on room conditions, impact exposure, and your available installation skills.
Decorative Versus Performance Panels
Decorative acoustic panels prioritize visual character, while performance panels emphasize measurable sound absorption, diffusion, or isolation. Choose decorative styles when you need architectural interest, concealed treatment, or coordinated colors and textures. Verify their Noise Reduction Coefficient (NRC), because an attractive finish doesn’t guarantee effective absorption.
Select performance panels when you’re controlling reverberation in a studio, classroom, office, or home theater. Manufacturers typically publish NRC, sound absorption average, diffusion data, or transmission-loss ratings. Use these specifications to match panel placement and coverage to your room’s problems.
You’ll find acoustic treatment options for walls, ceilings, corners, and movable partitions. Remember, absorption reduces reflections; it doesn’t block sound between rooms. For isolation, combine mass, airtight construction, decoupling, and other soundproofing techniques.
You can also layer decorative surfaces over rated acoustic cores for balanced aesthetics and performance.
Add Warmth With Wood Slat Panels
Wood slat acoustic panels add natural warmth while reducing reverberation in living rooms, offices, studios, and media spaces. You’ll get this balance from a wood veneer or solid-wood face mounted over an acoustically absorbent PET-felt backing.
The slats scatter reflections, while the open spacing allows sound energy to reach the absorber.
Choose a Wood grain that complements your furniture without overwhelming the room. A Natural finish preserves visual texture, though you can select stained or sealed surfaces for added durability.
Install panels across a primary reflection wall, behind a desk, or near speakers, and follow the manufacturer’s spacing and mounting requirements. You’ll need a level substrate and secure fasteners; avoid covering vents, outlets, or access panels.
Measure reverberant areas first, then add coverage gradually to maintain a lively, intelligible acoustic balance.
Create Impact With Geometric Panels
Geometric acoustic panels turn sound control into a strong visual feature while absorbing mid- and high-frequency reflections. Use geometric patterns to direct attention, define zones, or create a measured focal point without compromising speech clarity.
Select panel shapes that fit your wall dimensions, ceiling height, and room function. Triangles, hexagons, rectangles, and angled forms can produce rhythm, but keep spacing consistent for a controlled installation.
Combine different thicknesses when you need varied absorption across a broad frequency range; thicker panels generally improve low-mid performance.
Before mounting, map reflection points near speakers, workstations, or seating areas. Arrange panels symmetrically for a formal result or offset them for visual movement.
Follow the manufacturer’s air-gap and fastening requirements, and leave access to outlets, switches, and ventilation.
This approach gives you measurable acoustic improvement with architectural impact.
Bring Color With Fabric Panels

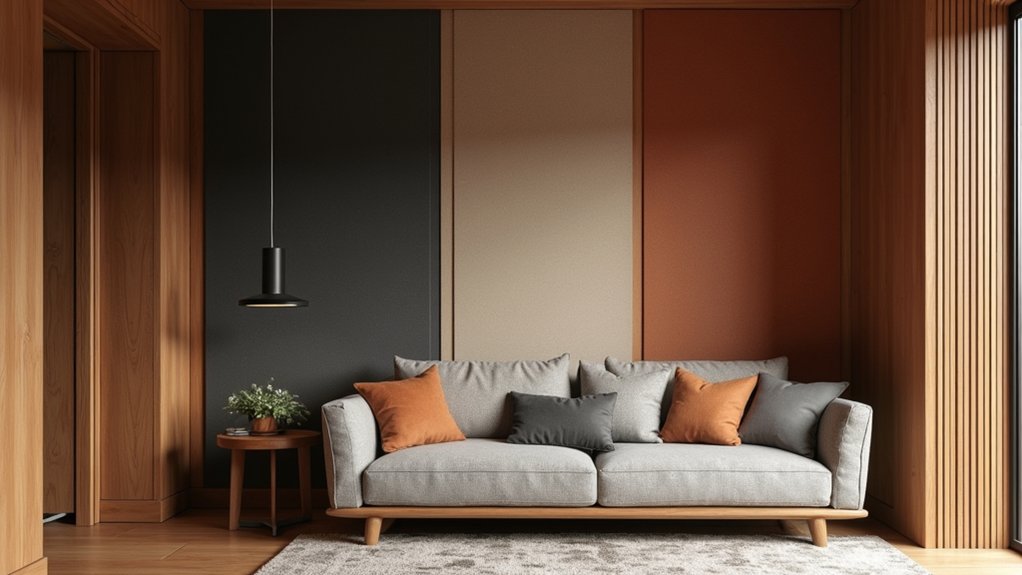
Fabric-wrapped acoustic panels let you add color while controlling reflections and reverberation. Choose a palette that supports your design goals without compromising visual balance. Use Color coordination to connect panels with nearby furnishings, trim, or artwork, and vary saturation carefully to prevent the wall from feeling visually heavy.
Evaluate Fabric textures as well as hue. Woven fabrics can introduce subtle depth, while tighter surfaces create a cleaner, more uniform appearance. Select acoustically transparent textiles so sound reaches the panel’s absorptive core; dense coatings or vinyl finishes may reduce performance.
Install panels in aligned rows, staggered groupings, or deliberate color blocks to create rhythm. Maintain consistent edge spacing, and verify that each panel’s fabric remains taut. If you need a stronger accent, concentrate darker or brighter panels within one controlled arrangement.
Choose Acoustic Wall Panels by Room
Choose acoustic wall panels by the room’s size, function, and dominant sound problems. In a home office, use medium- to high-density panels near your desk and reflective walls to reduce speech and equipment noise.
For a living room, select broadband absorbers that control conversation while preserving natural liveliness; coordinate placement with furniture placement, especially seating and speakers.
In bedrooms, prioritize thinner panels with fabric coverings to limit reflections without consuming space.
Treat studios and media rooms with thicker, high-NRC panels, bass traps, and ceiling clouds to manage low frequencies and echoes.
In kitchens, choose moisture-resistant products and keep them away from heat and grease.
Room lighting also matters: position panels so they don’t obstruct fixtures, windows, vents, or access points.
Measure reverberation, then match coverage to each room’s acoustic demands.
Design Feature Walls With Acoustic Panels
Turn an acoustic wall into a feature wall by combining controlled sound absorption with a deliberate visual layout. Choose panels in complementary colors, textures, or wood finishes, then create a measured grid, vertical stripe, or framed centerpiece. Use contrasting trim to define the installation and coordinate it with lighting, furniture, and adjacent surfaces.
Before mounting, verify each panel’s dimensions, edge alignment, and fire rating. Conceal cables behind removable sections when the wall includes lighting or media equipment.
Soundproofing techniques, such as sealing perimeter gaps and adding dense backing, can improve isolation, but they shouldn’t replace a professionally assessed assembly.
Specify durable fabric or cleanable finishes for high-contact areas. Schedule acoustic panel maintenance by vacuuming with a soft brush, checking fasteners, and replacing damaged coverings promptly.
Keep the composition balanced without overcrowding the wall.
Place Panels for Better Sound Absorption
Place panels at first-reflection points on side walls, ceilings, and other hard surfaces to reduce early echoes.
You’ll improve clarity by covering opposing walls, which limits sound bouncing repeatedly across the room.
Use measured listening tests or a mirror technique to confirm each panel’s placement.
Target Reflection Points
To improve sound absorption, identify the room’s first-reflection points—where sound from the speakers or other sources first bounces off the walls—and mount acoustic panels there. Sit at your listening position and have someone move a mirror along each side wall. Mark the locations where you can see the speaker; these spots require priority treatment.
Check the ceiling and wall behind your listening position using the same method, especially in rooms with hard, reflective surfaces. Position panels so their absorptive face aligns with the reflection path, and leave a small air gap behind each panel to improve low-frequency performance.
Use thick, dense panels for broadband control rather than thin decorative foam. If you still hear flutter echoes, add strategically placed panels or diffusers to support balanced sound diffusion without making the room acoustically dead.
Cover Opposing Walls
Covering opposing walls helps control repeated reflections and reduces flutter echo without overloading a single surface with absorption. Place panels at alternating heights or stagger them across each wall to interrupt parallel sound paths.
Treat roughly 25 to 50 percent of each opposing surface, adjusting coverage after listening tests or acoustic measurements. Leave some exposed wall area to preserve liveliness and prevent an overly dry response.
Use thicker panels, such as 2-inch or 4-inch absorbers, when you need stronger control in the mid and high frequencies. Coordinate panel locations with mirror accents, since reflective glass can restore brightness between absorbers.
Plan lighting integration before installation, routing fixtures and wiring around panels rather than compressing them. Keep panels flush, secure, and evenly spaced for consistent performance, clean sightlines, and easier maintenance.
Compare Panel Prices and Installation
Panel prices vary by material, thickness, acoustic rating, and finish, while installation costs depend on wall size, substrate condition, layout complexity, and labor rates. For an accurate cost comparison, calculate price per square foot, then add adhesive, clips, trim, delivery, waste, and labor.
PET felt usually costs less than wood-slat systems, while fabric-wrapped panels offer balanced absorption and customization. Compare published Noise Reduction Coefficient (NRC) values rather than relying on appearance alone.
You can reduce labor charges by preparing a clean, sound substrate and confirming panel dimensions before ordering. Useful installation tips include mapping the layout, locating studs, marking level reference lines, and following the manufacturer’s spacing requirements.
Ask installers whether their quote includes surface repairs, cutting, edge finishing, lift equipment, and removal of packaging. Get at least three itemized estimates before choosing.
Frequently Asked Questions
Can Acoustic Wall Panels Be Removed Without Damaging the Underlying Wall?
Yes, you can remove acoustic wall panels without wall damage when you choose removable installation methods, such as clips, rails, or hook-and-loop fasteners. Avoid aggressive adhesives, and follow the manufacturer’s removal instructions carefully.
Are Acoustic Wall Panels Safe for Homes With Children and Pets?
Yes, you’ll find acoustic wall panels safe when you choose Child safety features and Pet friendly materials. Secure panels firmly, avoid loose fibers, select low-VOC products, and inspect regularly for damage or accessible edges.
How Should Acoustic Wall Panels Be Cleaned and Maintained?
Prevention is better than cure: you’ll extend panel life through regular dusting, gentle vacuuming, and prompt spot-cleaning. Set a Cleaning frequency monthly, follow manufacturer instructions, and assess Material durability before using moisture or chemicals.
Can Acoustic Wall Panels Help Reduce Noise Between Neighboring Rooms?
Yes, you’ll reduce reflected sound between neighboring rooms, but panels won’t block transmission alone. Combine Soundproofing techniques—sealed gaps, added mass, decoupling—and choose dense Acoustic panel materials for better absorption and privacy.
Do Acoustic Wall Panels Require Special Tools or Professional Installation?
Usually, you won’t need special tools or professional installation: think of panels as hanging artwork. Check installation considerations, verify material compatibility, and use a level, measuring tape, drill, anchors, or adhesive.
Conclusion
With the right acoustic wall panels, you can turn troublesome reverberation into controlled, comfortable sound. Choose wood slats for warmth, geometric forms for visual rhythm, or fabric panels for flexible color and absorption. Match each panel’s performance, placement, and price to your room’s needs, then build a feature wall that works as hard as it looks. With thoughtful spacing and secure installation, you’ll create a quieter, sharper, more polished space without sacrificing style, comfort, or character.