
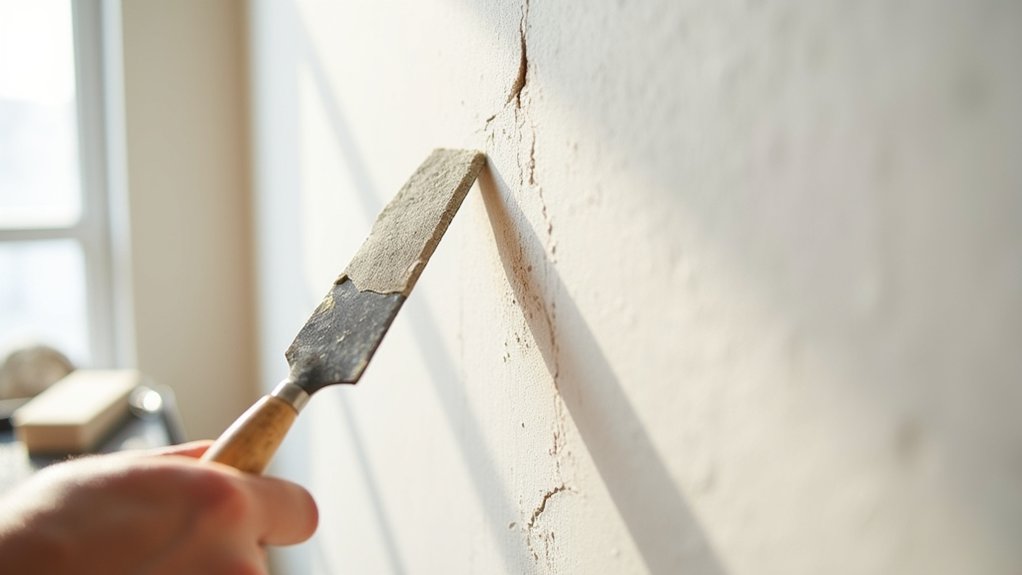
You can repair minor plaster cracks and imperfections yourself, but first determine whether they’re cosmetic or signs of movement or moisture damage. Inspect the crack’s pattern, check for dampness, and avoid patching unstable areas until the cause is addressed. For sound plaster, gather a putty knife, flexible patching compound, fine-grit sandpaper, primer, and matching paint. Clean the surface thoroughly before filling it—proper preparation often determines whether the repair lasts.
Key Takeaways
- Inspect crack size, location, and moisture signs; monitor widening or diagonal cracks for possible structural movement.
- Wear safety gear, remove loose plaster and paint, then clean and completely dry the damaged area.
- Fill hairline cracks and small holes with lightweight patching compound, applying thin layers for deeper imperfections.
- Allow repairs to cure fully, then sand smoothly, remove dust, and apply compatible primer before painting.
- Maintain indoor humidity between 30–50% and avoid rapid temperature changes to help prevent recurring cracks.
Check Cracks for Structural or Moisture Damage
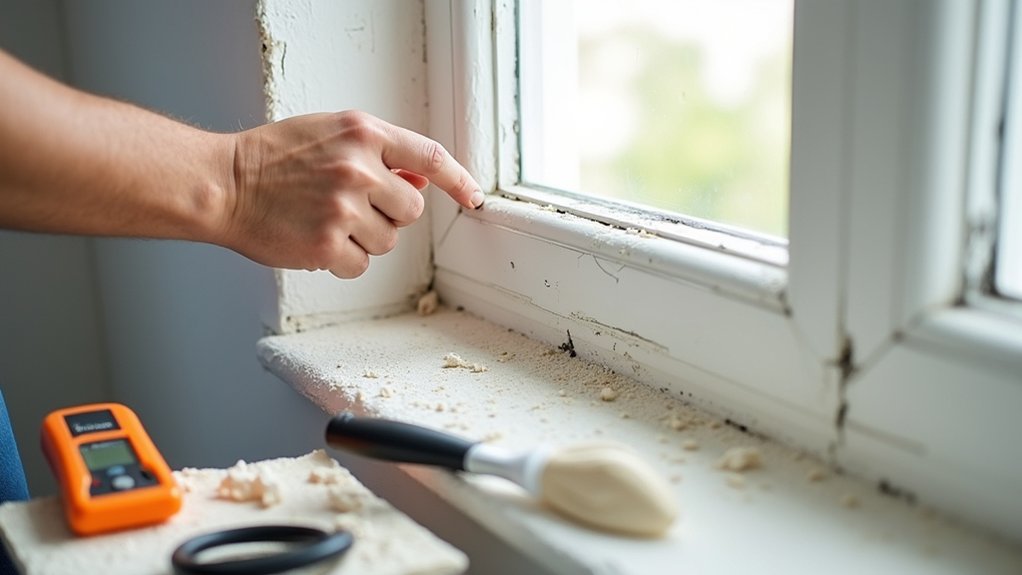
Before repairing a plaster crack, inspect its size, location, and pattern to rule out structural movement or moisture damage. Hairline cracks limited to the surface usually indicate normal curing or minor settling.
Measure wider cracks, then check them again after several weeks; growth suggests movement and requires professional evaluation. Pay special attention to cracks that run diagonally from door or window corners, follow masonry joints, or appear across ceilings. These patterns may compromise structural integrity, so don’t patch them before identifying the cause.
Complete a Moisture assessment by checking for staining, soft plaster, bubbling paint, mold, or a musty odor. Use a moisture meter if available, and inspect nearby plumbing, roofs, and exterior walls. Correct the water source and allow the area to dry fully.
Stop work if plaster loosens or debris falls.
Gather Tools and Materials for Plaster Repair
Once you’ve ruled out structural movement and moisture, gather the tools and materials before opening the crack. Choosing repair tools carefully helps you work accurately and safely.
Select a sharp utility knife, a small putty knife, a flexible taping knife, a sanding block, a mixing container, and a clean water measure. Keep a dust mask, safety glasses, and disposable gloves available to limit exposure to plaster dust and compounds.
Selecting plaster materials depends on the defect: use premixed patching compound for fine surface imperfections, or setting-type joint compound for deeper repairs that need controlled buildup. Keep fiberglass mesh tape nearby for cracks requiring reinforcement.
Check product instructions for thickness, drying time, and compatibility with existing plaster. Protect nearby surfaces with drop cloths, and ensure adequate ventilation before you begin.
Clean and Prepare Cracks Before Filling
With your tools and materials ready, clean and prepare the crack so the filler can bond securely. Put on safety glasses and a dust mask before disturbing plaster.
Use a utility knife to gently remove loose edges, flaking paint, and friable material; don’t widen a sound crack unnecessarily.
Brush out dust with a stiff, dry brush, then vacuum the groove with a soft attachment. If grime remains, wipe the surrounding surface with a barely damp cloth, keeping moisture away from exposed plaster.
Let the area dry completely.
Check for movement, dampness, or recurring stains, which may signal a structural or moisture problem requiring professional assessment.
Protect nearby Decorative wall finishes with masking film.
For Historical plaster restoration, document original layers and avoid aggressive scraping that could damage significant fabric.
Don’t apply filler yet.
Fill Hairline Cracks and Small Holes
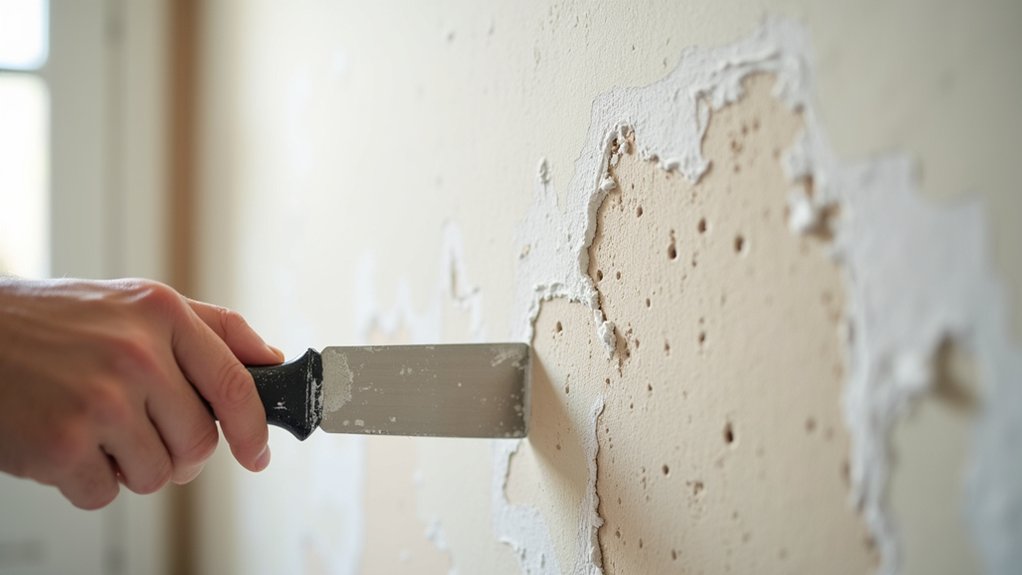
For hairline cracks and small holes, apply a lightweight premixed patching compound with a flexible putty knife, pressing it firmly into the opening rather than merely coating the surface. Work in thin, controlled applications to avoid trapping air or forcing compound behind loose plaster.
For holes deeper than about 3 millimeters, fill gradually, allowing each layer to firm up before adding the next.
Don’t widen stable hairline cracks unnecessarily; remove only loose edges.
Before filling, confirm that wallpaper removal hasn’t exposed damaged plaster or concealed hazards.
If a hole lies near an outlet, switch, or suspected electrical wiring, turn off the circuit at the breaker and verify it’s de-energized before inserting any tool.
Don’t patch active movement, dampness, or crumbling areas; those conditions require further assessment before cosmetic repair.
Sand, Prime, and Blend the Repaired Plaster
Let the patching compound firm up fully, then sand the repair with fine-grit abrasive until it’s level with the surrounding plaster, using light pressure to avoid exposing the substrate. Wear safety glasses and a dust mask, and keep the abrasive slightly damp if the product permits, which limits airborne particles.
Wipe away residue with a clean, barely damp sponge, then allow the surface to dry completely.
Apply a compatible plaster primer in a thin, even coat, extending slightly beyond the patch to seal absorption differences.
For texture matching, compare the repaired area with adjacent plaster under the same lighting. Recreate subtle stippling with a small brush or sponge while the primer remains workable.
Feather the edges carefully to achieve smooth finish blending without creating ridges or depressions.
Touch Up Paint and Prevent New Cracks
Once the primer has dried, apply matching paint in thin, even coats, extending slightly beyond the repaired area to blend it with the surrounding wall. For accurate Color matching, compare dried samples under the room’s normal lighting; paint can shift as it cures. Follow the manufacturer’s instructions for drying time, and don’t press or wash the surface prematurely.
Controlled paint application with a small, quality brush minimizes visible edges and prevents drips. To help prevent new cracks, maintain indoor humidity near 30–50 percent and avoid rapid temperature changes. Keep furniture and impacts away from the repaired area.
Inspect nearby joints annually for movement, staining, or widening gaps. If cracks recur, follow a straight line, or exceed approximately 1/8 inch, stop patching and consult a qualified professional to check for structural movement or moisture damage.
Frequently Asked Questions
Can I Repair Plaster Cracks in a Rented Property Without My Landlord’s Permission?
You shouldn’t repair plaster cracks before checking your rental agreements and requesting Landlord permissions. Notify your landlord, document the damage, and follow approved methods; unauthorized work could breach your lease or reduce your deposit.
How Long Should Repaired Plaster Cure Before Hanging Pictures or Shelves?
Wait 24–48 hours before hanging pictures, and 3–7 days before shelves. Check the repair feels hard, dry, and stable; complete surface sanding and paint matching first, then use suitable anchors carefully.
When Should I Hire a Professional Plasterer Instead of Attempting Repairs Myself?
Hire a professional plasterer when cracks widen, recur, feel structural, or involve ceilings, moisture, or extensive damage. Choose expert Plaster mixing and crack prevention guidance when safety, access, or finish quality exceeds your skills.
Can Wallpaper Conceal Repaired Plaster Cracks Effectively?
Wallpaper can politely disguise repaired plaster cracks, but you’ll need smooth, fully cured filler first. Choose textured wallpaper or Decorative techniques to minimize visibility; don’t conceal dampness, movement, or widening cracks—address underlying problems safely.
Are Plaster Repair Products Safe to Use Around Children and Pets?
Yes, you can use plaster repair products safely around children and pets. Choose Child safe adhesives and Pet friendly repair materials, ventilate rooms, prevent contact during application, and wait until surfaces fully cure.
Conclusion
With careful inspection and proper preparation, you can repair minor plaster cracks safely and achieve a nearly invisible finish. Don’t assume every crack needs professional intervention: stable, dry hairline cracks are usually manageable with flexible compound, while widening cracks, dampness, bulging, or structural movement require an expert. Work in thin layers, ventilate the area, and protect your eyes and skin while sanding. After priming and matching the paint, control humidity and temperature to help prevent recurring damage.