
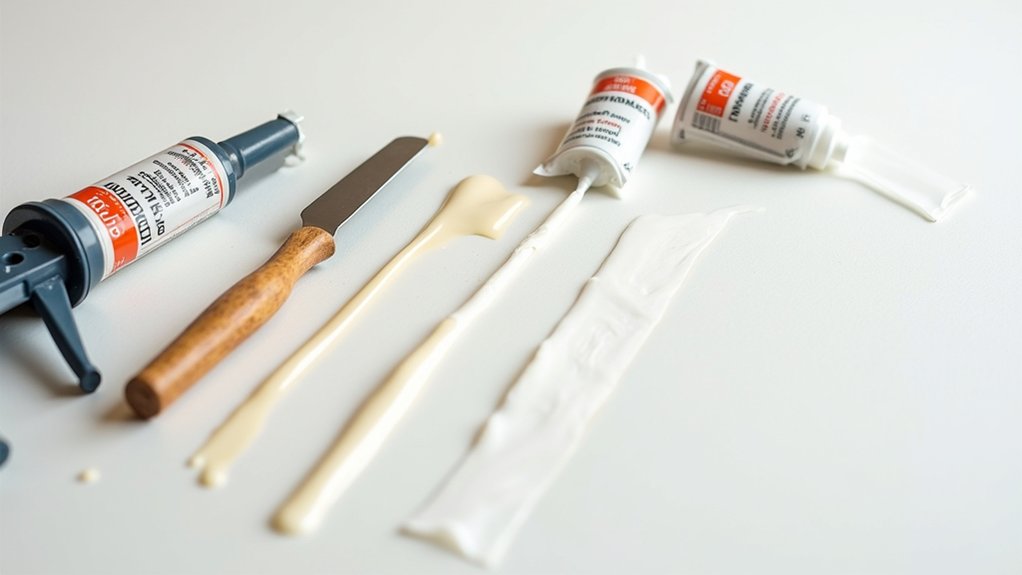
When you need to seal a joint, choosing between caulk and silicone depends on movement, moisture, and the finish you want. Caulk works well for paintable interior gaps around trim, walls, and ceilings, while silicone provides a flexible, water-resistant seal for sinks, tubs, windows, and exterior joints. The wrong product can crack, peel, or resist paint, so understanding how each material performs will help you choose the right one for your project.
Key Takeaways
- Caulk typically refers to acrylic or latex sealants, while silicone is a distinct, flexible sealant designed for demanding applications.
- Choose acrylic or latex caulk for interior, low-movement joints such as baseboards, trim, drywall seams, and cabinets.
- Choose silicone for wet or exterior areas, including showers, sinks, windows, glass, tile, metal, and finished countertops.
- Silicone resists water, UV exposure, temperature changes, shrinking, and cracking better, but usually costs more and is harder to remove.
- Both require clean, dry surfaces; apply a continuous bead, tool it smoothly, and allow full curing before exposure.
Caulk vs. Silicone: What’s the Difference?
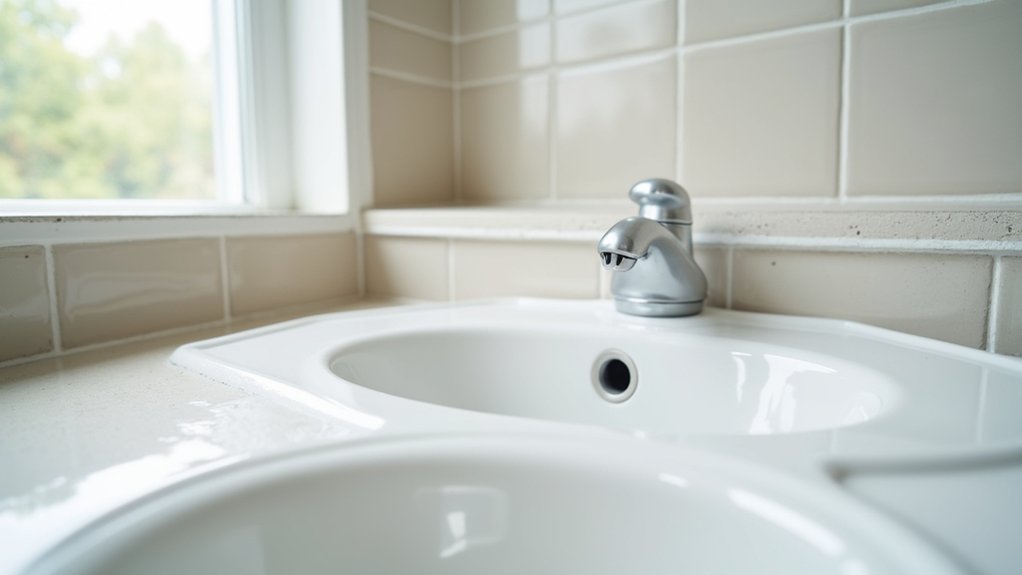
Caulk and silicone are both sealants, but they’re designed for different jobs. Choose caulk when you need to seal gaps in painted wood, drywall, trim, or other relatively rigid, porous surfaces. Most acrylic or latex caulks accept paint, making color matching straightforward after installation. They’re also easier to remove and replace during routine maintenance.
Choose silicone for nonporous materials such as glass, ceramic tile, metal, and finished countertops, especially where you need a waterproof seal. Silicone typically resists moisture, ultraviolet exposure, and temperature changes better than standard caulk, but paint won’t adhere reliably to its cured surface.
Consider environmental impact, too: water-based caulks generally produce fewer fumes during application, while solvent-based products may require stronger ventilation. Read the label, confirm substrate compatibility, and select the sealant that suits your project.
How Caulk and Silicone Perform
When you compare caulk and silicone, consider water resistance first, especially in wet areas.
You’ll also need to assess flexibility, since movement can cause rigid caulk to crack while silicone remains elastic.
Finally, evaluate durability and longevity to match the sealant with your project’s conditions.
Water Resistance
Water resistance depends on the product’s formulation, joint movement, and exposure conditions. You’ll typically find acrylic-latex caulk suitable for areas with limited moisture, such as trim, drywall, and painted wood.
Choose a water-resistant or siliconized formula for kitchens and bathrooms, but verify the label before installation. Pure silicone provides stronger, longer-lasting resistance to water and humidity, making it appropriate for sinks, tubs, showers, and other regularly wet surfaces.
Before application, clean the joint, remove old sealant, and let the substrate dry completely.
Your application techniques matter: apply a continuous bead, tool it promptly, and prevent gaps or pinholes.
Color options can affect maintenance and appearance, but they don’t determine waterproof performance.
Allow the sealant to cure for the manufacturer’s stated time before exposing it to water.
Flexibility And Movement
Flexibility determines how well a sealant handles joint movement caused by temperature changes, vibration, or shifting materials. Acrylic caulk remains relatively rigid after curing, so it suits low-movement joints such as trim gaps and small interior cracks. You can paint it and achieve accurate Color matching, but repeated expansion or contraction may cause cracking or separation.
Silicone stays elastic, allowing it to stretch and recover as surfaces move. Choose it for expansion joints, corners, glass, countertops, and areas exposed to vibration. Before applying, select application tools that help you maintain a consistent bead and avoid trapping air.
Tool the sealant smoothly without overworking it, because a uniform profile accommodates movement more effectively. Use backer rod in deeper joints to control sealant depth and support proper movement within the joint.
Durability And Longevity
Durability depends on the sealant’s exposure, joint movement, and surface conditions. Acrylic caulk typically lasts several years indoors when you apply it to clean, dry, stable joints. However, moisture, temperature changes, and repeated movement can cause cracking or shrinkage.
Silicone generally provides longer service, especially around sinks, tubs, windows, and other wet or exterior areas. It resists water, ultraviolet light, and temperature fluctuations while maintaining elasticity.
You’ll improve longevity by removing failed material, cleaning residue, and selecting a product rated for the substrate and exposure. Use compatible application tools, such as a smooth caulking gun and finishing tool, to create a continuous bead.
Color options also matter: match caulk to painted surfaces, while clear or color-matched silicone preserves a finished appearance. Inspect seals periodically and replace them when adhesion or flexibility declines.
Which Projects Are Best for Caulk?
Caulk is best for sealing stationary joints where you need to block air, dust, or moisture, such as gaps around baseboards, door and window frames, trim, and drywall seams. Use it where adjoining surfaces remain stable and you want a clean, paintable finish.
Acrylic latex caulk works well for interior projects, including crown molding, baseboards, cabinets, and small wall cracks. Choose a paintable formula when you’ll apply a topcoat, and consider Color matching to blend the bead with surrounding surfaces.
Before application, clean the joint, remove loose material, and let the area dry.
Your application techniques matter: cut the nozzle at a 45-degree angle, apply steady pressure, and tool the bead immediately with a damp finger or finishing tool.
Allow proper curing before painting or exposing the joint to moisture.
When Is Silicone the Better Choice?
Choose silicone for moisture-prone areas, such as bathrooms, kitchens, and exterior joints, where water resistance matters. Its flexibility accommodates movement between adjoining materials, reducing cracks and separation.
You’ll also get longer-lasting performance when you need a durable, low-maintenance seal.
Moisture-Prone Areas
In moisture-prone areas, silicone is usually the better choice because it remains flexible and resists water after curing. Use it around tubs, showers, sinks, and other joints exposed to repeated splashing or condensation. Silicone creates a watertight seal on nonporous surfaces such as glass, ceramic tile, porcelain, and metal.
You’ll get better results when the surface is clean, dry, and free of soap residue, grease, and old sealant. Apply continuous beads, then tool them before skinning begins.
Bathroom ventilation still matters: run the exhaust fan during and after bathing to reduce moisture and mold growth.
For a kitchen backsplash, silicone works well where tile meets a countertop or sink, helping prevent water from entering the seam. Choose a mildew-resistant, kitchen-and-bath formulation, and follow its curing time before exposing the seal to water.
Flexible Joint Sealing
When a joint expands, contracts, or shifts, silicone is often the better sealant because its cured flexibility accommodates movement without cracking or pulling away. Choose it for connections between dissimilar materials, perimeter gaps around countertops, and expansion joints where rigid caulk could fail.
Before application, clean the surfaces, remove loose material, and confirm that the gap suits the product’s movement capability. Use masking tape to create crisp edges, then select application tools such as a smooth caulk gun, profiling tool, and utility knife for controlled placement and finishing.
Silicone offers useful aesthetic options, including clear, white, gray, and color-matched formulas, so you can coordinate the joint with surrounding finishes. Tool the bead promptly with a compatible solution, and follow the manufacturer’s instructions for substrate compatibility and curing conditions.
Long-Term Durability
Movement tolerance helps a joint perform today, but long-term durability depends on how well the sealant resists weather, moisture, temperature changes, and repeated stress.
Choose silicone when you need a lasting barrier around tubs, showers, sinks, windows, or exterior joints. Its nonporous surface resists water, mildew, ultraviolet exposure, and many cleaning chemicals better than standard acrylic caulk.
You’ll also benefit from silicone’s ability to remain flexible through expansion and contraction without cracking or shrinking. However, durability depends on proper preparation and application techniques.
Remove old sealant, clean and dry the joint, apply a continuous bead, and tool it smoothly before skin formation.
Consider color matching when appearance matters, but prioritize a formula rated for your substrate and exposure.
Silicone typically costs more, yet its service life can reduce repairs and resealing.
Choose Caulk or Silicone by Project
Choose caulk for interior joints that need a clean, paintable finish, such as baseboards, trim, and drywall seams. You’ll also find acrylic or latex caulk suitable for minor gaps around cabinets, door frames, and crown molding. Check the label for flexibility and shrink resistance when surfaces may shift slightly.
Prioritize silicone for areas exposed to standing water, humidity, or temperature changes. Use it around bathtubs, showers, sinks, countertops, windows, and exterior penetrations. Silicone forms a resilient, water-resistant seal, but most formulas won’t accept paint.
Choose a color that complements the surrounding surface, or consider Color matching when appearance matters. Review compatibility with glass, metal, masonry, plastics, and painted surfaces before buying.
Select Application tools that suit the cartridge, joint size, and project location, ensuring controlled dispensing and clean results.
How to Apply Caulk and Silicone Correctly
Proper application starts with a clean, dry surface and a joint sized for the sealant’s movement. Remove old material, dust, grease, and loose paint, then let the area dry completely.
Mask both edges for a straight bead. Cut the nozzle at a 45-degree angle, matching the opening to the joint width.
Load the tube into a caulking gun and apply steady pressure while moving continuously.
Tool the bead immediately with a damp finger or finishing tool, pressing sealant firmly into the joint.
Remove masking tape before the surface skins over.
Follow the manufacturer’s curing time before exposing the sealant to water, movement, or paint.
Use paintable caulk for decorative finishes; silicone generally resists paint.
Compare cost considerations, including tooling, replacement, and longevity, before choosing.
Frequently Asked Questions
How Long Does Caulk or Silicone Typically Take to Cure Completely?
You’ll typically wait 24 hours for caulk to cure completely, while silicone may need 24–48 hours. Follow the label, control humidity, and consider Application tips and Compatibility considerations before exposing the joint to moisture.
Can Old Caulk or Silicone Be Removed and Replaced Without Damaging Surfaces?
Yes, you can remove old caulk or silicone without damaging surfaces. Cut and peel carefully, avoid gouging substrates, and use compatible removers. Surface preparation matters; chemical composition determines cleaner compatibility and replacement adhesion.
Are Caulk and Silicone Available in Different Colors and Finishes?
You’ll find color options that help joints disappear or stand out, while finish varieties range from smooth and glossy to textured and matte. Check manufacturer charts; silicone typically offers fewer colors than caulk for specialized applications.
How Should Leftover Caulk or Silicone Tubes Be Stored?
Seal leftover tubes promptly using Packaging options such as caps or plastic wrap. Store them upright with Storage methods that include cool, dry conditions, stable temperatures, and protection from sunlight, freezing, and moisture.
Can Caulk or Silicone Be Painted After Application?
You can paint caulk after curing, but most silicone resists paint. Check the label, complete Surface prep, and choose paintable formulas for reliable adhesion. Consider Color matching before application, because cured silicone rarely accepts coatings.
Conclusion
Choose caulk or silicone based on movement, moisture, and maintenance—not guesswork. Use paintable caulk for interior joints, then reach for silicone when water, weather, or expansion could destroy an ordinary seal. Apply either product to clean, dry, properly prepared surfaces, and tool the bead for complete contact. Choose incorrectly, and a tiny gap can become a flood-sized headache. Choose correctly, and your seal can withstand years of movement, moisture, and daily wear with remarkable reliability.