
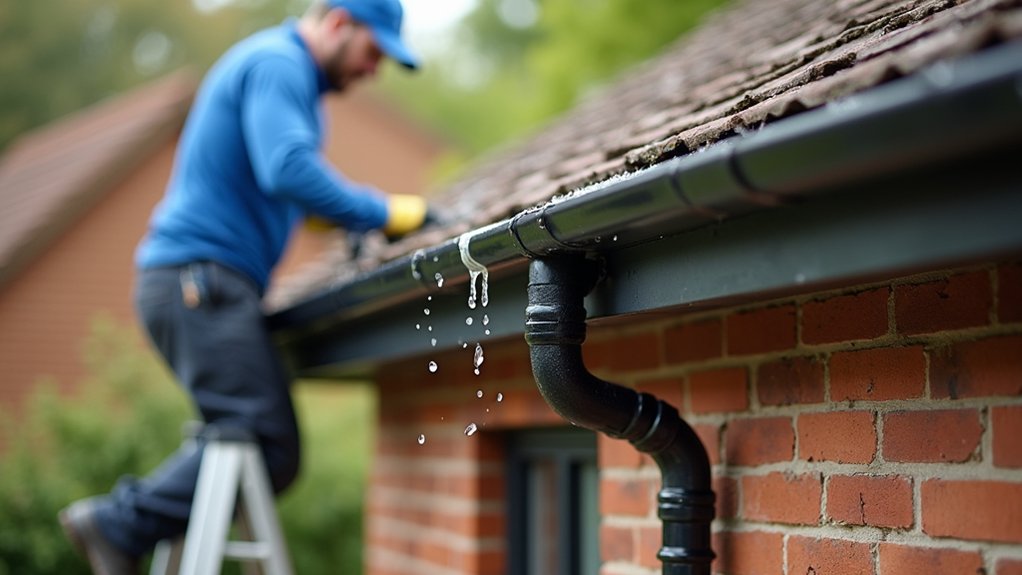
You can prevent damp ingress by keeping gutters and downpipes clear, correctly aligned, and able to discharge water away from your building. Inspect them before autumn and after severe weather, looking for blockages, leaks, loose joints, sagging sections, and damp around walls or foundations. Clear debris safely, flush downpipes, and repair defects promptly. The right slope, outlet direction, and gutter guard can improve drainage, but some warning signs require professional attention before minor faults become structural problems.
Key Takeaways
- Inspect and clean gutters and downpipes seasonally, removing leaves, sediment, and debris before heavy rainfall.
- Flush downpipes with a hose and confirm continuous discharge away from walls, foundations, and paths.
- Repair leaks, loose joints, corrosion, holes, sagging gutters, and damaged brackets promptly to prevent overflow and damp ingress.
- Maintain a 2–5 mm fall per metre toward outlets, ensuring gutters have no dips or backflow points.
- After storms, document damage and arrange licensed professional repairs for severe defects, unsafe access, or persistent water penetration.
Inspect Gutters and Downpipes Safely

Before you inspect gutters and downpipes, place a stable ladder on level ground, maintain three points of contact, and wear gloves and eye protection. Don’t overreach; climb down and reposition the ladder instead.
Remove leaves and sediment with a scoop, then flush each section with a hose. Watch for leaks at joints, loose brackets, sagging runs, blocked outlets, and separated downpipe connections.
Check the Gutter material for corrosion, splits, deformation, or coating failure, particularly where dissimilar metals meet. Confirm each downpipe discharges freely and remains securely fixed to the wall.
Assess downpipe capacity against the roof area and local rainfall intensity; undersized pipes can overflow during storms.
Use a mirror or inspection camera to view concealed sections. Don’t work near electrical cables, and stop during wind, rain, or icy conditions.
Look for Damp Around Walls and Foundations
After confirming that gutters and downpipes drain freely, inspect the walls and foundations below them for moisture that may indicate overflow, leaks, or poor discharge. Look for dark staining, peeling paint, blistered render, salt deposits, or soft masonry.
Wall dampness often appears beneath joints, outlets, and changes in direction, so compare affected areas with adjacent dry surfaces. Check indoors for musty odours, mould, damp patches, or deteriorating skirting boards on the same wall.
Examine foundation moisture at ground level, where water can collect against the masonry or enter through cracks. Use a moisture meter to compare readings, but don’t rely on one measurement alone.
Mark wet areas and photograph them for monitoring. If dampness persists, arrange a qualified inspection to identify failed joints, blocked discharge routes, damaged waterproofing, or rising damp.
Clear Leaves and Debris Safely
Choose a stable ladder or approved access platform that suits the gutter’s height, and don’t overreach.
Remove leaves and debris regularly to maintain water flow and prevent blockages.
Wear gloves and use suitable tools to protect your hands and avoid damaging the gutter.
Choose Safe Access Equipment
Select access equipment that keeps you stable without overreaching, such as a properly positioned extension ladder, platform ladder, or suitable scaffold.
Inspect every component before use, including feet, rungs, locks, platforms, and guardrails.
Set the ladder on firm, level ground, maintain three points of contact, and keep its angle within the manufacturer’s specified range.
Don’t place it on gutters, loose blocks, or other unstable surfaces.
Check ladder stability continuously, particularly on sloping ground or near wet areas.
Keep tools in a secured belt or use a hoist, so your hands remain free while climbing.
Safety harnesses may be necessary when you work from scaffold or elevated platforms; connect them only to approved anchor points.
Follow equipment instructions, isolate nearby electrical hazards, and stop work during strong winds or rain.
Remove Debris Regularly
Once you’ve established stable access, remove leaves, twigs, and sediment before they restrict water flow or add weight to the guttering. Wear gloves and use a small scoop or plastic trowel to lift compacted material, placing it in a bucket rather than flushing it into the downpipe.
During gutter cleaning, avoid sharp tools that could puncture or deform the channel. Work methodically towards each outlet, then inspect joints, brackets, and end caps for trapped debris or damage.
For safe debris removal, rinse the gutter with a controlled hose flow after clearing solids. Check that water reaches the downpipe without pooling. If the pipe blocks, detach its lowest accessible section and clear it with a flexible rod; don’t force high-pressure water through fragile joints.
Dispose of waste responsibly and clean any spills from paths.
Flush Downpipes and Check Water Flow
Flush each downpipe with a steady stream of water from a hose, starting at the outlet and working upward if accessible. Keep the hose pressure moderate to avoid forcing water behind joints or into the wall.
Watch the discharge at the bottom: strong, continuous water flow confirms that the passage is clear. Slow drainage, surging, or backflow indicates an obstruction that you should remove before testing again.
Check that water exits well away from the building, where it won’t saturate foundations or soil beside walls.
Observe the pipe during flushing and confirm its pipe alignment remains straight, with outlets directing water into the intended drain or extension.
Test every downpipe during or after rainfall, when you can assess capacity under realistic conditions.
Use a plumber’s snake for persistent blockages.
Repair Leaks, Joints, and Sagging Gutters
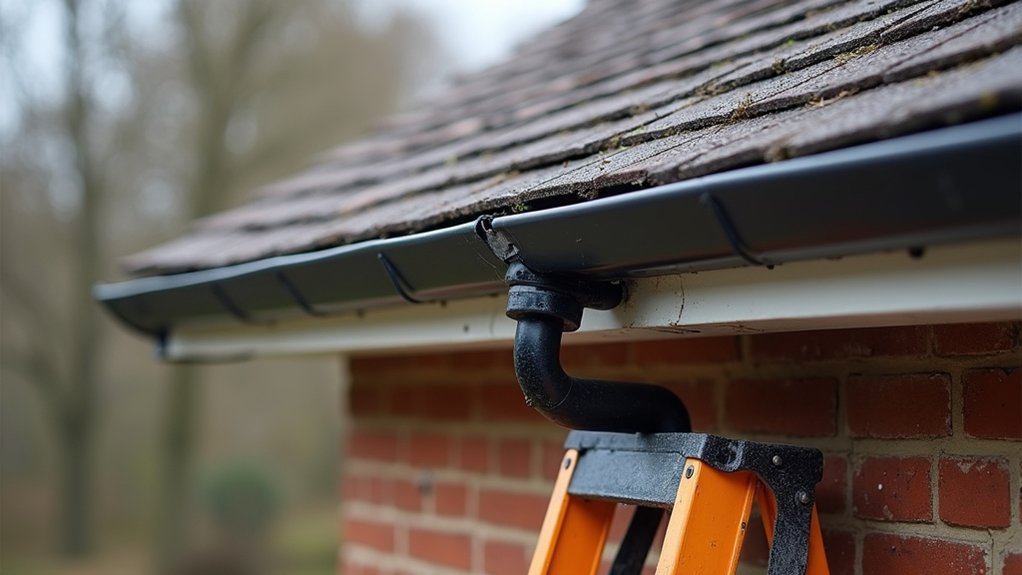
Repair leaks, loose joints, and sagging sections as soon as you find them, because small defects can overflow walls and foundations. Clean and dry the affected area before applying compatible gutter sealant.
To seal joints, remove failed compound, check that the sections meet squarely, and refasten them with the manufacturer’s connectors or screws.
Repair leaks in metal gutters by tightening fasteners and patching small holes with a suitable repair tape or roofing-grade sealant. Replace badly corroded sections rather than covering extensive damage.
Support sagging gutters with additional brackets fixed to sound fascia or rafter tails; replace loose or rotten fixing points first.
Check end caps, outlets, and downpipe connections for movement, then test each repair with a controlled flow of water.
Wear gloves and use a stable, secured ladder throughout the work.
Set the Right Gutter Slope and Direction
Set the gutter slope toward its outlet so rainwater drains continuously rather than pooling or overflowing. Aim for approximately 2–5 mm of fall per metre, or follow your manufacturer’s specification.
Use a level, tape measure, and chalk line to mark the intended gradient along the fascia. Check the gutter’s position before tightening every bracket, ensuring the channel doesn’t dip between supports.
Keep the outlet at the lowest point, and confirm the Downpipe direction carries water away from walls, foundations, and paths where it could cause damp ingress.
Test the finished run with a hose, watching for slow flow or standing water. Adjust brackets or reposition sections as needed.
Don’t create an excessive fall, because it can reduce capacity at the back edge and make the installation look uneven.
Choose Gutter Guards for Your Home
Which gutter guard suits your home depends on roof pitch, gutter profile, nearby trees, and the debris your roof collects. Gutter guard types include mesh, reverse-curve, brush, and foam inserts.
Fine stainless-steel mesh blocks small leaf fragments and pests, while perforated covers suit larger debris but may admit seeds. Reverse-curve designs shed leaves effectively, yet they require correct alignment and adequate roof runoff.
Brush and foam inserts are simple to fit, although they can retain organic matter and need frequent cleaning. Check your gutter width, fixing points, and downpipe outlets before buying.
Key installation tips include maintaining the existing fall, overlapping sections in the direction of flow, sealing exposed joins, and securing edges against wind uplift. Clean the roof and gutters first, then inspect guards regularly, especially after storms and autumn leaf fall.
Call a Gutter Professional When Needed
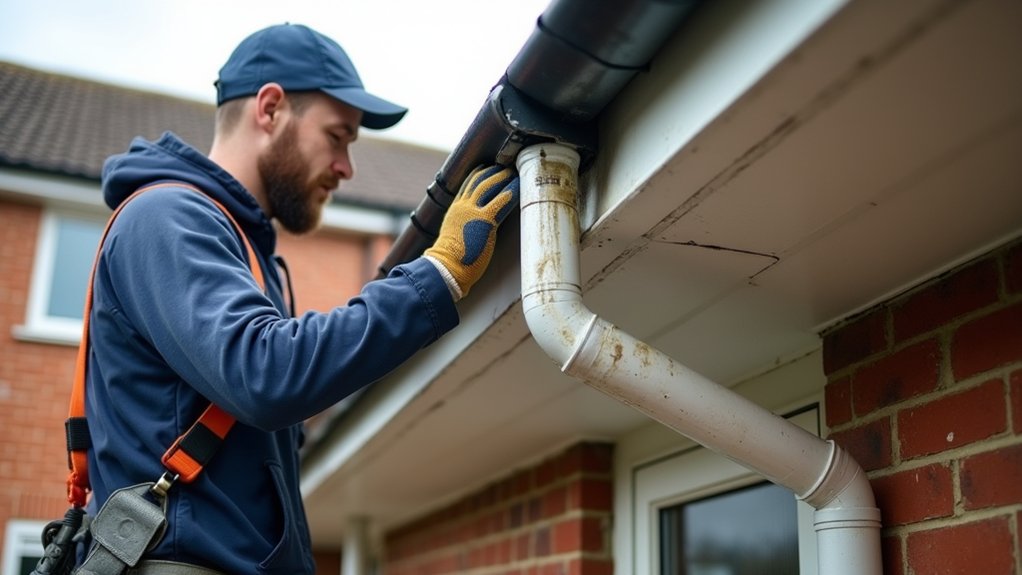
When gutters are sagging, separating from the fascia, leaking at multiple joints, or overflowing despite clear channels, you’ll need a qualified gutter professional.
These defects can indicate inadequate falls, failed brackets, damaged seals, or blocked underground connections. Arrange a professional inspection before water reaches soffits, brickwork, or internal ceilings.
A contractor can test flow, check joint integrity, assess fascia condition, and identify damp ingress risks that aren’t safe or practical to diagnose from a ladder.
Don’t attempt repairs near power lines, unstable roof edges, or extensive rot. Request written details of the recommended work, materials, access requirements, and guarantees.
If storm damage has opened joints or detached a downpipe, seek emergency repairs to limit saturation.
Use a licensed, insured contractor and confirm their method will restore discharge away from foundations.
Build a Seasonal Gutter Maintenance Plan
A seasonal maintenance plan keeps gutters and downpipes clear, secure, and able to discharge water safely throughout the year. Set reminders for inspections before autumn leaf fall, after winter storms, and before spring and summer rainfall.
Your seasonal timing should reflect local weather, surrounding trees, and roof exposure. Inspect joints, brackets, outlets, seals, and downpipe connections; remove sediment and confirm water flows freely.
Check the gutter material for corrosion, splits, distortion, or incompatible fixings. Aluminium, steel, copper, and uPVC require different cleaning methods and repair products, so follow the manufacturer’s guidance.
After severe weather, inspect promptly for impact damage or displacement. Record defects, photographs, cleaning dates, and completed repairs.
Keep the schedule accessible, and arrange professional work when defects could compromise drainage or safe access.
Frequently Asked Questions
How Much Does Professional Gutter Maintenance Typically Cost?
You’ll typically pay $100–$300 for professional gutter cleaning, depending on property size, height, debris, and access. Maintenance schedules may reduce costs, while repairs, downpipe clearing, or difficult conditions can increase the final invoice.
What Gutter Materials Are Most Resistant to Corrosion and Weather Damage?
You’ll get the best gutter material durability from aluminium, galvanized steel, or copper. Copper offers excellent corrosion resistance and weather performance; aluminium resists rust; galvanized steel withstands impacts but eventually needs protective coating maintenance.
Can Blocked Gutters Attract Pests or Cause Insect Infestations?
Yes, blocked gutters encourage Pest attraction and Insect infestations by retaining stagnant water, leaves, and organic debris. You’ll reduce risks by clearing gutters regularly, flushing downpipes, sealing gaps, and checking for larvae or nesting activity.
How Long Should Properly Maintained Gutters Typically Last?
Your gutters typically last 20–30 years when you don’t let maintenance slip. Gutter cleaning and Downpipe inspection prevent premature corrosion, while prompt repairs protect joints, coatings, and fixings from avoidable deterioration.
Are Gutter Maintenance Costs Covered by Home Insurance Policies?
Insurance coverage usually excludes routine gutter maintenance costs, because maintenance policies treat them as homeowner responsibilities. You’re typically covered only for sudden, insured damage; check your policy’s exclusions, limits, and reporting requirements before arranging repairs.
Conclusion
Maintain gutters and downpipes before small faults become hidden damp. Inspect safely, clear debris, flush outlets, and check that water flows away from walls and foundations. Repair leaks, loose joints, sagging sections, and incorrect slopes without delay; install suitable guards where they’ll help. Follow a seasonal schedule, particularly before autumn and after storms. If water still pools or staining appears, don’t wait—the next downpour may expose damage that’s already spreading.