
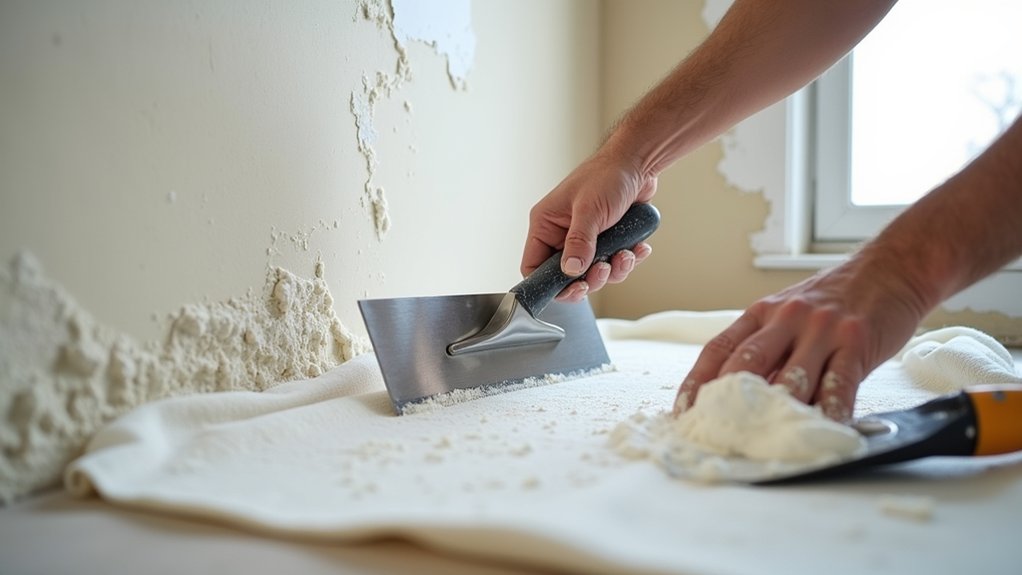
You’ll get a smooth plaster repair by treating preparation, material choice, and application as one process. Start by evaluating the damage, cleaning the surface, and selecting a compatible patching compound. For deep or wide defects, reinforce the area before applying several thin layers. Feather each layer beyond the repair, then smooth and lightly sand it under angled light. Small cracks, shrinkage, or uneven edges require specific corrections, so the final inspection matters more than the first coat.
Key Takeaways
- Remove all loose plaster, dust, and contaminants until you reach a clean, firm edge.
- Choose patching plaster for deep repairs and joint compound for shallow dents or final feathering.
- Apply multiple thin coats, allowing each layer to dry completely before adding another.
- Sand lightly with a fine-grit sanding sponge, extending beyond the patch to blend edges smoothly.
- Inspect under angled light, remove residue, and prime the fully cured, level surface before painting.
Assess the Plaster Damage Before You Start
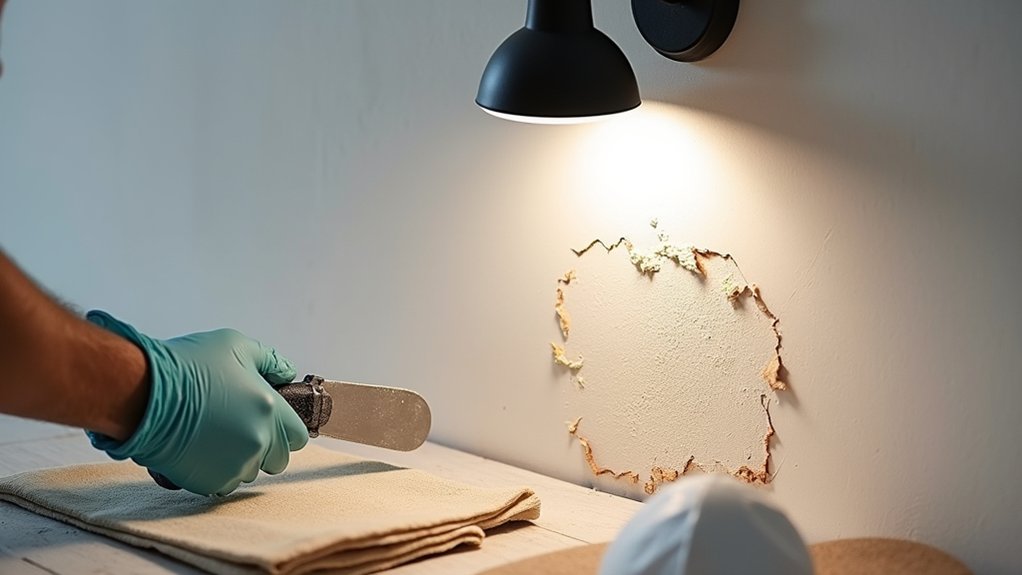
Before you mix any filler, inspect the damaged area to determine the plaster’s condition and the repair’s scope. Press gently around the defect; sound plaster feels firm, while hollow, flexible, or crumbling sections indicate separation from the substrate. Use an integrity assessment to identify loose edges, hairline cracks, bulges, and hidden voids.
Trace each crack to determine whether it stops locally or continues through the wall, which may signal movement. Check for staining, peeling paint, powdery surfaces, or a musty odor. Perform moisture testing near discoloration, windows, plumbing, and exterior walls; elevated readings require you to correct the moisture source before patching.
Remove nothing yet, but mark unstable boundaries and measure the damaged area. If damage extends widely or returns after drying, consult a qualified professional before proceeding with repairs.
Gather Tools for Patching Plaster
Gather the tools you’ll need before opening the filler: a utility knife, stiff brush, small hammer and chisel, spray bottle, mixing container, margin trowel, putty knife, hawk or flat board, sanding block, and a damp sponge. These plaster repair tools cover removal, mixing, application, shaping, and finishing.
Add a measuring cup for consistent water ratios, a straightedge for checking flatness, and a dust mask and safety glasses for protection. Keep clean water nearby, plus rags for wiping tools between coats.
Select a patching compound compatible with your existing plaster, and confirm its working time before mixing. Organize your patching supplies within reach, but keep powders sealed until use.
Inspect each blade and handle; damaged tools can drag material, create ridges, or contaminate the mix. Don’t substitute flimsy cardboard for a rigid hawk.
Prepare the Wall for Patching Plaster
Before applying patching plaster, clean the damaged area to remove dust, grease, and loose debris.
Scrape away all unstable plaster until you reach a firm, sound edge.
This preparation helps the new plaster bond securely and finish smoothly.
Clean the Damaged Area
To prepare the wall for patching plaster, remove loose plaster, crumbling edges, dust, and paint flakes from the damaged area. Focus on surface preparation without enlarging the repair unnecessarily.
Brush the exposed area with a stiff, dry nylon brush, working outward to dislodge fine particles. Vacuum the debris with a brush attachment, then wipe the surrounding surface with a slightly damp, lint-free cloth. Don’t saturate the plaster; excess moisture can weaken it and delay drying.
Inspect for grease, soot, or adhesive residue, and complete contamination removal with a suitable cleaner compatible with the existing finish. Allow the area to dry completely before applying patching material.
Keep the perimeter clean and sharply defined, because remaining dust or contaminants can reduce adhesion and transfer texture through the finished patch.
Remove Loose Plaster
Start by testing the damaged plaster with a gloved hand and the flat edge of a putty knife. Press gently around the hole and tap nearby areas. Remove any section that feels soft, sounds hollow, shifts, or separates from the lath.
Use the knife, a plaster scraper, or a small cold chisel to pry away loose material. Work inward from the edges, and don’t force sound plaster off the wall. For controlled plaster removal, hold your tool at a shallow angle and wear eye protection and a dust mask.
Stop when you reach a firm, stable boundary. Brush away crumbs with a stiff hand brush, then vacuum remaining dust without widening the opening.
Complete this surface preparation before applying compound, so the patch bonds securely and dries evenly across the repair.
Choose Plaster or Compound for the Patch
Choose a patching plaster for deeper repairs and areas that need a firm, durable fill, while joint compound works best for shallow dents, nail holes, and final skim coats. Match the Type of plaster to the existing wall’s hardness and texture so the repair won’t telegraph through paint. Read the product label for maximum thickness, working time, and compatible surfaces.
Use a Quick setting compound when you need to rebuild a small section quickly, but mix only what you can apply before it hardens. Choose premixed compound for convenience and consistent moisture content, especially when you’re still learning.
For feathering edges or correcting minor ridges, select lightweight joint compound; it sands more easily. Let each material dry or cure fully before applying primer, then inspect the surface under angled light.
Add Mesh to Large or Deep Repairs
When a plaster repair is wider than a few inches or extends through the surface coat, embed alkali-resistant fiberglass mesh to reinforce the patch and limit cracking. Cut the mesh to overlap the damaged area by at least two inches on every side.
Remove loose material, then press the mesh firmly against the exposed substrate with compatible setting compound or bonding adhesive. Keep the mesh flat; wrinkles create weak spots and may telegraph through the finished surface.
For holes, secure mesh over the opening with corrosion-resistant fasteners or suitable backing, ensuring it sits slightly below the surrounding plaster. Use mesh reinforcement where movement, depth, or changing materials could stress the repair.
Proper placement distributes tension, improves repair longevity, and creates a stable foundation for subsequent plaster work. Avoid metal mesh, which can rust and stain.
Apply Patching Plaster in Thin Layers
Apply the patching plaster in thin, even layers rather than filling the repair at once.
Let each layer dry fully before adding the next to prevent cracking and uneven shrinkage.
You’ll achieve a flatter, more stable surface by building the patch gradually.
Build Up Gradually
Build up the repair gradually by pressing on thin layers of patching plaster rather than filling the entire void at once. Use a putty knife to spread each application evenly, keeping every layer slightly below the surrounding surface. Work from the edges toward the center, feathering the compound outward to prevent a raised rim.
Choose layering techniques that match the cavity’s depth: shallow applications reduce shrinkage and give you better control over the final profile. Keep the knife nearly flat, and apply firm, consistent pressure to compact the plaster and remove air pockets.
Scrape away ridges while the material remains workable, but don’t overwork the surface. Leave the last layer just proud of the wall, so you can level it during finish smoothing with a clean, broad knife.
Allow Layers to Dry
Let each thin layer dry fully before adding the next, because trapped moisture can cause shrinkage, cracking, or a soft repair beneath the surface. Check the manufacturer’s drying time, since temperature, humidity, ventilation, and layer thickness affect results.
Don’t rely on a firm surface alone; press lightly in an inconspicuous spot and look for darker, cool areas that indicate retained moisture. Keep airflow steady, but avoid directing strong heat at the patch, which can dry the surface too quickly and promote cracking.
Once the layer feels uniformly hard and dry, lightly scrape away ridges and dust before applying more plaster. Respect the complete curing process, not just the initial set.
If you rush, later sanding or painting may reveal movement, shrinkage, or visible joint lines.
Blend, Sand, and Inspect the Repair
Once the patching compound has dried completely, blend its edges with fine-grit sandpaper, feathering outward until the repair shifts smoothly into the surrounding plaster. Use light, even strokes and keep the sanding area slightly wider than the patch. A sanding sponge can follow subtle contours without gouging the plaster.
Wipe away dust with a clean, damp cloth, then let the surface dry before inspecting it under strong, angled light. Run your fingertips across the repair to detect ridges, lips, or rough particles. If you feel unevenness, sand lightly again rather than pressing harder.
Check color matching against the surrounding wall, remembering that dust and wet surfaces can distort your judgment. Complete finish smoothing with a final fine-grit pass, then remove all residue before priming. Keep your strokes controlled, and don’t polish one spot excessively.
Fix Cracks, Shrinkage, and Uneven Patches
If cracks reappear, the patch has shrunk, or the surface still looks uneven after sanding, correct the defect before priming.
Begin with surface preparation: scrape away loose material, vacuum dust, and widen hairline cracks slightly with a utility knife. Press joint compound into the opening, feathering the edges onto sound plaster.
For deeper shrinkage, apply two or three thin coats, allowing each coat to dry fully before sanding. Don’t fill a deep void in one pass, or the repair may crack again.
If the patch sits proud, sand it with fine-grit paper on a sanding block; if it dips, add compound and feather outward farther.
Use a damp sponge to remove residue without gouging the surface. Inspect under angled light, then repeat these finishing techniques until the wall looks uniformly flat.
Frequently Asked Questions
How Long Should Patched Plaster Cure Before Painting?
You should let patched plaster cure 3–7 days before painting, depending on thickness, humidity, and ventilation. Check that it’s uniformly light-colored and firm, then complete surface preparation before priming and applying paint.
Can Patched Plaster Be Repaired Over Wallpaper or Decorative Finishes?
You can’t reliably patch over wallpaper or Decorative finishes; they’re a fragile veil. Start with Wallpaper removal, then clean, prime, and repair the substrate. Otherwise, adhesion suffers, cracks return, and your finish won’t stay smooth.
What Primer Should Be Used Before Painting a Repaired Plaster Area?
Use a quality drywall or masonry primer for repaired plaster. For primer selection, choose a breathable, stain-blocking formula compatible with your paint; it’ll seal porosity, equalize absorption, and improve paint adhesion across the patch.
How Can You Match the Existing Wall’s Texture After Patching?
Match the texture by photographing an undamaged area, then test texture blending on cardboard. Apply thin compound, mimic stippling or swirls, and feather edges. After drying, use finish smoothing techniques before priming and painting.
When Should a Professional Plasterer Handle a Damaged Wall?
Hire a professional plasterer when damage affects structural integrity, covers extensive areas, involves moisture, or requires complex texture matching. During hiring considerations, complete a skill assessment, verify insurance, request references, and compare detailed quotes carefully.
Conclusion
With the right preparation, patching plaster doesn’t have to leave a visible scar. Assess the damage, gather the proper tools, and clean the surface before you begin. Build deep repairs with mesh, apply compound in thin layers, and feather each edge. Then blend, sand, and inspect under angled light. If cracks, shrinkage, or uneven areas remain, correct them before painting. Work patiently, check carefully, and finish smoothly for a durable, seamless repair that matches the surrounding wall.