
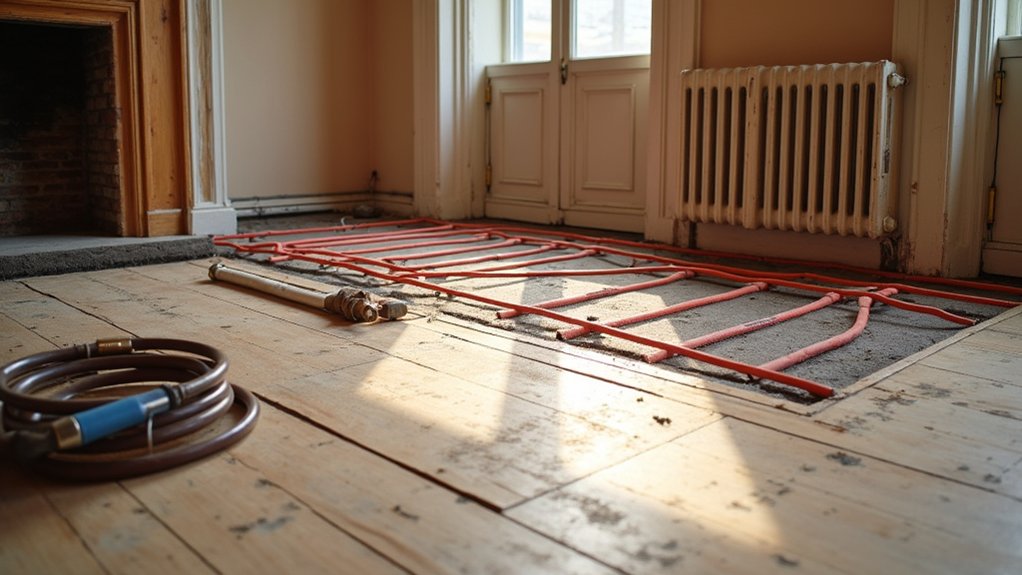
Retrofitting underfloor heating can improve comfort, free wall space, and modernise an existing property without changing its character. Before choosing a system, you’ll need to assess your floor construction, insulation, moisture levels, available floor height, and heat source. Electric and water-based options suit different projects, while low-profile installation methods can limit disruption. Careful planning also controls costs and prevents performance problems—but the right approach depends on details beneath your finished floor.
Key Takeaways
- Assess insulation, floor construction, heat loss, moisture, and available floor height before choosing a retrofit underfloor heating system.
- Choose electric heating for smaller rooms and simpler installation, or hydronic heating for larger areas and lower long-term running costs.
- Check compatibility with your boiler, heat pump, radiators, controls, electrical supply, and primary circuit capacity.
- Compare detailed installation quotations, including floor preparation, controls, upgrades, disposal, and a 10–15% contingency.
- Use low-profile systems where possible, then have a qualified installer connect, balance, commission, and test every circuit.
Is Retrofit Underfloor Heating Right for You?

Retrofitting underfloor heating can be a practical choice if you want more even heat, clearer wall space, and improved comfort without replacing your entire home’s heating system.
Assess your property’s insulation, floor construction, available floor height, and room-by-room heat loss before committing. You’ll need enough access beneath or above the existing floor, plus suitable controls and compatible heat emitters.
Low-profile systems may limit disruption, while thicker assemblies can affect doors, stairs, thresholds, and ceiling height. Consider how installation will affect finishes, furniture, and future maintenance.
This approach suits renovations, extensions, and Luxury upgrades where comfort and visual simplicity matter. It can also support Historical preservation by reducing reliance on visible radiators while respecting original features.
Obtain a heat-loss assessment and detailed quotation before deciding.
Choose Electric or Water-Based Underfloor Heating
You’ll find electric systems simpler to retrofit, especially in individual rooms or areas with limited floor buildup.
Water-based systems can deliver lower running costs but require compatible heat sources, pipework, and sufficient floor depth.
Compare installation costs alongside energy efficiency, system controls, and your property’s existing heating infrastructure.
Electric System Benefits
Electric underfloor heating uses resistance cables or mats beneath the finished floor to deliver consistent, room-by-room heat without a boiler, pipework, or manifold. You can install slim systems beneath tiles, stone, laminate, or engineered timber, making them practical where floor buildup must remain minimal.
Zoned thermostats let you heat occupied rooms independently, so you won’t waste energy warming unused areas. Rapid response times also suit bathrooms, kitchens, and occasional rooms that need heat on demand.
When you pair accurate controls with floor-temperature sensors and suitable insulation, electric system benefits include predictable comfort, straightforward installation, and useful efficiency improvements. You’ll also avoid combustion equipment and associated servicing inside the property.
Before choosing a system, check your electrical supply, circuit capacity, floor covering compatibility, and the installer’s compliance with current wiring regulations.
Water-Based System Considerations
Water-based underfloor heating circulates warm water through pipes beneath the floor, making it well suited to whole-home projects and properties with an efficient heat pump or modern boiler. You’ll need sufficient floor depth or a low-profile overlay system to accommodate hydronic piping without creating awkward thresholds.
Your installer must assess joist direction, structural loading, insulation, and floor finishes before selecting pipe spacing and manifold locations. Water circulation depends on correctly sized pumps, balanced circuits, and reliable controls, so each room can reach its target temperature efficiently.
You’ll also need accessible routes for connecting pipework to the heat source and space for the manifold. Use oxygen-barrier pipe and pressure-test every circuit before covering it.
A competent installer should commission the system, verify flow rates, and explain ongoing controls and maintenance.
Comparing Installation Costs
Although electric underfloor heating usually costs less to install, water-based systems can offer lower running costs across a whole home. Your cost comparison should include materials, labour, floor preparation, controls, and electrical or plumbing upgrades.
Electric mats or cables suit single rooms because you can install them with minimal floor buildup and connect them to existing circuits, although a larger electrical supply may be necessary.
Water-based pipework typically demands deeper floors, manifold installation, screeding, and connection to a boiler or heat pump. That makes the initial expense higher, particularly during renovation.
However, your expense analysis should project energy use over several years. If you’re heating multiple rooms continuously, water-based heating may repay its installation premium through efficient low-temperature operation.
Obtain itemised quotations and confirm insulation requirements before choosing.
Check Floor Height, Insulation, and Moisture
Before selecting a system, check whether your existing floor height can accommodate the heating layers without affecting doors, stairs, or thresholds.
Inspect insulation levels and upgrade them where necessary to reduce heat loss and improve efficiency.
Test for moisture, because dampness can damage components and compromise the finished floor.
Assess Floor Height
Start by measuring the existing floor buildup at door thresholds, stair landings, skirting boards, and adjacent rooms to determine how much height the retrofit can add. Record the finished floor level, then compare it with the proposed system’s assembly, including panels, pipes, screed or overlay boards, adhesive, and final flooring.
This calculation establishes your available floor height and highlights potential conflicts with doors, cupboards, stairs, and appliances. Check whether doors can be trimmed safely and whether skirting boards or architraves need adjustment.
Account for changes between heated and unheated rooms, aiming for neat, accessible thresholds rather than abrupt steps. Your insulation considerations should include the system’s specified thickness, but assess its thermal performance separately.
Confirm the design with your installer before ordering materials or removing the existing floor.
Check Insulation And Moisture
Check the floor’s insulation and moisture condition before choosing the heating system or final floor buildup. Lift a small section of flooring, where practical, and inspect the subfloor for damp staining, mould, efflorescence, or timber decay. Use a moisture meter suited to the substrate, and investigate any elevated readings before installation. You may need a surveyor to identify leaks, rising damp, or inadequate drainage.
Complete an insulation evaluation by checking existing insulation’s thickness, continuity, and condition. Gaps increase heat loss and create cold spots, reducing system efficiency. If insulation is missing or compressed, add a compatible layer without blocking ventilation or exceeding available floor height.
Install appropriate moisture barriers over concrete or damp-prone substrates, following manufacturer and building-regulation requirements. Don’t cover unresolved moisture; trapped water can damage finishes, insulation, and heating components.
Compare Low-Profile Retrofit Installation Methods
When floor height and disruption matter, compare retrofit systems by construction depth, heat output, installation time, and compatibility with your existing floor.
Grooved overlay panels provide a slim profile while directing pipes evenly across the surface. They suit solid, level substrates, but you’ll need to account for the panel and new floor finish at doorways and stairs.
Routed boards or electric mats can reduce preparation, particularly in smaller rooms, and often support adhesive installation beneath tile or engineered flooring. Electric mats typically install quickly and add little height, although you must verify electrical capacity and control placement.
Water-based overlay panels can deliver efficient, consistent heat but require careful pipe spacing and pressure testing.
Choose a method that matches your floor’s condition, finished-height limits, room size, and required heat output.
Connect Water-Based Heating to Your Boiler or Heat Pump
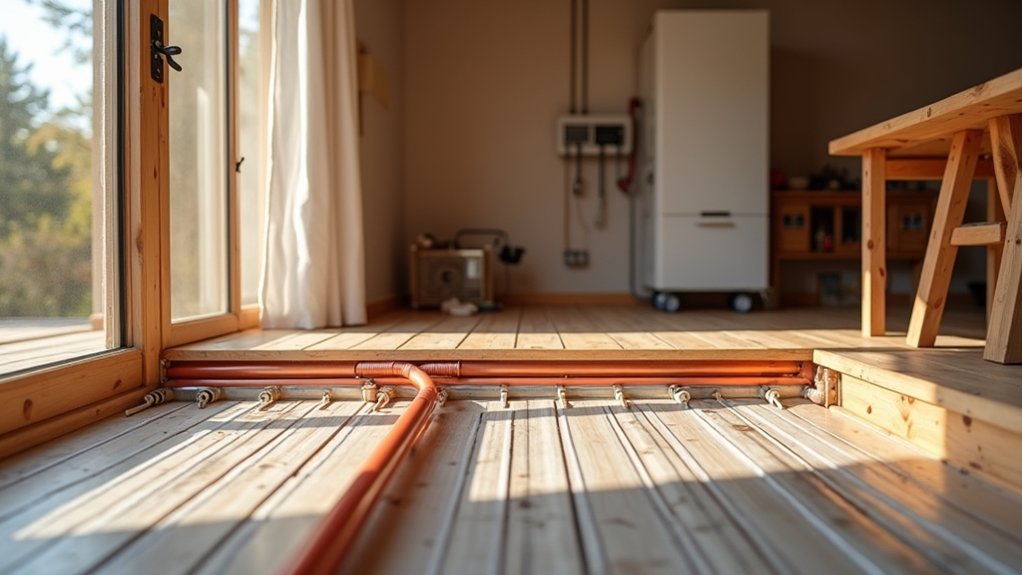
Once you’ve selected a water-based retrofit system, connect it to the heat source through a properly sized manifold and mixing assembly.
For hydronic systems, verify your boiler or heat pump can deliver the required flow at the lower operating temperature underfloor circuits need.
Install isolation valves, a circulating pump, air vent, pressure gauge, and balancing valves where the design requires them.
A blending valve protects floor finishes by reducing excessive flow temperature, while controls coordinate room thermostats with the heat source.
With boiler integration, confirm compatibility with the boiler’s controls and make certain the primary circuit can supply the manifold without disrupting existing radiators.
Heat pumps generally suit underfloor heating well, but you’ll still need hydraulic separation or buffer capacity if flow rates differ.
Have a qualified installer commission, balance, and test every circuit.
Estimate Retrofit Underfloor Heating Costs
Estimate retrofit underfloor heating costs by totaling the heating system, insulation or panels, manifold and controls, floor repairs, electrical work, and installation labor. Start your Cost analysis with the heated floor area and the required heat output, then obtain itemized quotations rather than relying on a price per square metre.
Compare electric mats with hydronic pipework, including energy tariffs, boiler or heat-pump compatibility, and future maintenance. Your Material selection affects both purchase price and installation time: low-profile panels may cost more but reduce floor-height adjustments and joinery changes.
Add allowances for thermostats, sensors, zone valves, commissioning, and disposal of removed flooring. Confirm whether quotations include tax, delivery, testing, and warranty registration.
Keep a contingency of 10–15% for concealed substrate repairs or additional electrical capacity, and separate capital costs from ongoing energy expenses.
Avoid Common Retrofit Installation Mistakes
Avoid common retrofit mistakes by confirming the design before installation: verify heat-loss calculations, circuit capacity, floor height, substrate condition, pipe or cable spacing, and control locations.
Don’t install over damp, unstable, or contaminated substrates; repair defects and allow screed or adhesive to cure fully.
Check the manufacturer’s minimum bend radius and never cross, kink, or shorten heating cables.
Provide continuous insulation beneath the system, with sealed joints and perimeter edging to limit downward heat loss and expansion stress.
Improper insulation can increase running costs and create uneven temperatures.
Test electrical resistance or pipe continuity before covering the system, then record results.
Use a qualified electrician for connections, controls, and protective devices; incorrect wiring can cause faults or fire.
Photograph installation routes and retain commissioning documents for future repairs.
Frequently Asked Questions
Can Underfloor Heating Be Installed Beneath Fitted Kitchens and Built-In Furniture?
Yes, you can install underfloor heating beneath a Fitted kitchen, but avoid fixed cabinetry and Built in furniture. Those areas restrict heat transfer, risk overheating, and complicate repairs; lay heating only in accessible, uncovered floor zones.
How Long Does a Retrofit Underfloor Heating Installation Usually Take?
You’ll usually complete a retrofit in three to seven days, depending on room size, floor preparation, and system choice. Plan carefully: energy efficiency improves, while installation costs rise with extensive repairs, controls, or floor replacement.
Can I Control Each Room’s Underfloor Heating Independently?
Yes, you can control each room independently by creating separate thermostat zones. Heating zones use individual thermostats and actuators, letting you adjust temperatures, schedules, and comfort levels precisely, provided your system supports manifold-based zoning.
What Maintenance Does Retrofit Underfloor Heating Require After Installation?
You’ll need minimal maintenance: inspect controls, pumps, valves, and wiring annually; bleed hydronic circuits, check pressure, and clean filters. Follow a Maintenance schedule to preserve System efficiency, comfort, and reliable room-by-room operation throughout each heating season.
Will Underfloor Heating Affect My Home Insurance or Property Warranty?
Your home’s policy is a gate: retrofit underfloor heating may alter Insurance implications, so notify your insurer and retain certification. Check Warranty considerations; unapproved installation could void coverage, while qualified contractors typically preserve applicable protections.
Conclusion
Retrofitting underfloor heating can turn a tired floor into a quiet source of comfort, without sacrificing valuable wall space. By checking construction, moisture, insulation, floor height, and heat-source compatibility first, you’ll avoid unwelcome surprises later. Choose the system and installation method that suit your property, then have a qualified professional test and commission the work. With careful planning, you’ll give cold rooms a gentler future—and enjoy efficient warmth beneath your feet for years to come.