
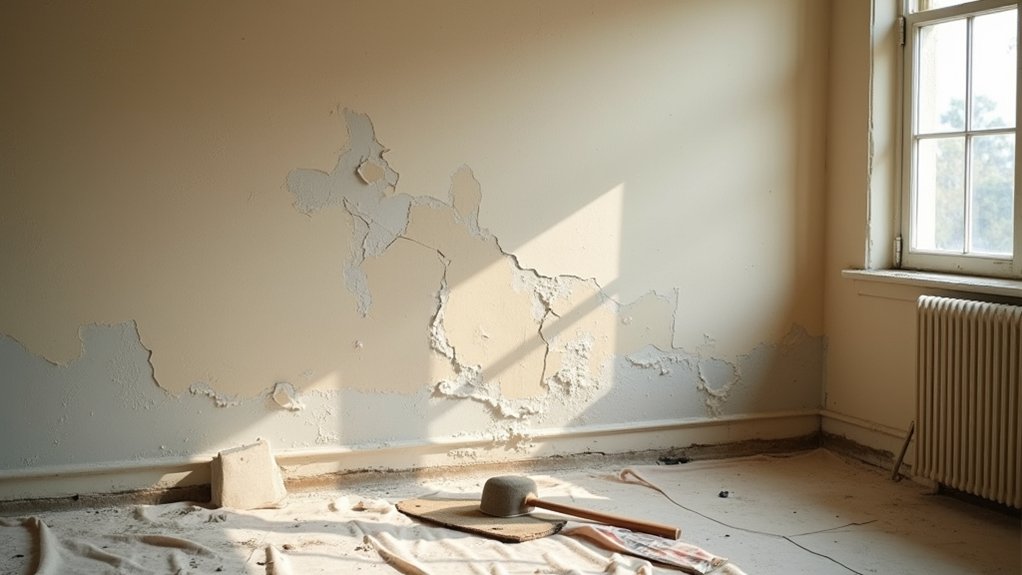
Older plaster can whisper warnings before it fails: hairline cracks, hollow sounds, and bulging patches often signal deeper problems. Before you reach for filler, inspect the walls, mark changes, and rule out dampness or structural movement. Wear suitable protection, especially around dust and potentially hazardous old paint, then choose materials compatible with the existing plaster. With careful preparation, you can repair damage without erasing historic details—but the right method depends on what you find beneath the surface.
Key Takeaways
- Inspect cracks, hollow areas, bulges, and missing plaster using gentle tapping, careful probing, measurements, and photographs.
- Rule out leaks, dampness, salts, mold, or structural movement before repairing damaged plaster.
- Wear appropriate protective equipment, especially when disturbing old paint that may contain lead or asbestos.
- Match repair materials to the existing plaster, using lime-based products for lime plaster and gypsum for gypsum plaster.
- Apply compatible plaster in thin layers, secure deep voids properly, and preserve original textures, moldings, and decorative details.
Diagnose Common Plaster Repair Problems

Before repairing an older plaster wall, identify the type and extent of the damage. Wear safety glasses, gloves, and a suitable respirator before probing or scraping the surface. Map each defect with pencil and photographs.
Classify hairline cracks, wider cracks, hollow-sounding areas, blistering, loose keys, surface erosion, and missing sections. Tap gently with a wooden handle; a dull, drummy sound can indicate separation from the lath. Test edges with a knife, but don’t force sound material loose.
Check whether previous repairs use incompatible cement or hard filler, which can damage softer plaster. Preserve samples or fragments when possible, especially where Decorative finishes or patterned surfaces require historical accuracy.
Record dimensions, plaster layers, and lath exposure. Stop if you find friable coatings or suspect hazardous paint, and arrange professional testing before continuing.
Rule Out Damp and Structural Movement
Before repairing plaster, check for damp by looking for staining, mould, salt deposits, musty odours, or persistently cold surfaces.
You shouldn’t patch the area until you’ve traced and addressed leaks, rising damp, or condensation.
Also inspect cracks for widening, stepped patterns, displaced plaster, or sticking doors, as these may indicate structural movement requiring a qualified professional.
Check For Damp
Damp can weaken plaster and damage the underlying masonry, so identify and address moisture before attempting repairs. Look for tide marks, bubbling paint, mould, salt deposits, or a musty smell.
Use a moisture meter as a screening tool, but don’t treat its reading as definitive on porous, salt-contaminated walls. Check gutters, downpipes, roof coverings, external pointing, plumbing, and ground levels for possible water entry.
Improve ventilation and heating where condensation contributes, while avoiding impermeable paints that trap moisture. Don’t seal, replaster, or inject treatments until the source has been corrected and the wall has dried adequately.
Wear gloves, eye protection, and a suitable mask when disturbing mouldy or dusty surfaces. For effective damp prevention and moisture control, document readings, repair defects, and seek an independent surveyor if moisture persists.
Identify Structural Movement
Once moisture sources have been ruled out, check for structural movement before repairing cracked or detached plaster. Inspect cracks for width, direction, and progression. Vertical cracks near openings may indicate settlement, while stepped cracks through masonry can signal foundation shifts.
Horizontal cracks, bulging walls, sloping floors, or gaps around doors require urgent attention because they may threaten wall stability. Mark each crack’s ends with pencil, record its width, and photograph it with a dated reference. Recheck after several weeks, unless movement appears rapid.
Don’t remove extensive plaster, load-bearing finishes, or distorted lath until you’ve assessed the cause. Look outside for displaced bricks, leaning walls, failed pointing, or damaged drains that could affect foundations.
If signs worsen, isolate the area and contact a structural engineer or qualified building surveyor before continuing repairs.
Choose Tools and Materials
Choose essential tools such as a hawk, trowel, mixing bucket, paddle mixer, straightedge, and dust-extraction equipment.
Select repair materials compatible with the existing plaster, substrate, and moisture conditions rather than defaulting to hard cement-based products.
Wear eye, hand, and respiratory protection, and inspect tools before use.
Essential Plastering Tools
Before you begin repairs, gather tools and materials suited to the plaster’s condition and the job’s scale. Choose a sturdy hawk, stainless-steel trowels, a pointing trowel, and a margin trowel for controlled application.
Keep a plasterer’s float, joint knife, and broad scraper available for leveling and removing loose material. A stiff brush, vacuum with a fine-particle filter, and spray bottle help you clean and dampen surfaces without over-wetting them.
Use a mixing bucket, paddle mixer, measuring containers, and a drill at low speed to achieve consistent batches.
For detail work, select small modeling tools that support Decorative plaster finishes and historical plaster techniques.
Wear safety glasses, gloves, and a properly fitted respirator when disturbing dusty or painted plaster.
Protect floors, isolate work areas, and inspect tools for damage before use.
Selecting Compatible Materials
Match the repair material to the existing plaster’s composition, age, and moisture behavior rather than relying on a generic patching compound. Test a small, inconspicuous area first.
Lime plaster usually needs a breathable lime-based mix, while gypsum plaster requires a compatible gypsum product; avoid hard cement repairs that can trap moisture or crush softer edges. Check the manufacturer’s water ratio and curing requirements, and use clean, potable water.
If the wall shows salts, persistent dampness, or structural movement, correct that cause before patching.
For Decorative plaster textures, save loose fragments or photograph the pattern so you can match aggregate, color, and tooling.
Prioritize historical plaster preservation by retaining sound material and using reversible, minimally invasive repairs.
Wear eye protection, gloves, and a dust-rated respirator when mixing, sanding, or removing damaged plaster.
Repair Hairline Cracks Safely
To repair a hairline crack safely, first confirm that it’s stable and superficial rather than a sign of structural movement. Check whether it widens, follows masonry joints, or returns after previous repairs. If you notice dampness, staining, distortion, or continuing movement, stop and consult a qualified conservation professional.
Wear eye protection and a dust mask, then gently brush away loose dust without enlarging the crack unnecessarily. Lightly mist the area if the plaster’s compatible with moisture, and press in a fine, breathable lime-based filler with a small knife.
Let it dry fully before sanding minimally; excessive sanding can damage surrounding plaster. Match the existing texture with a thin finish coat, then repaint using compatible, breathable paint.
Preserve Decorative finishes, and document original colors and techniques to maintain historical accuracy. Avoid rigid cement fillers, which can trap moisture and cause further damage.
Secure Loose or Bulging Plaster
When plaster feels loose, sounds hollow when tapped, or bulges from the wall, don’t press it back into place or start drilling immediately. Wear eye protection and a dust mask, then inspect nearby cracks, stains, and movement.
Gently test the area with a fingertip; stop if it shifts or debris falls. Locate wall framing or ceiling joists with a stud finder, and check for plumbing or wiring before fastening.
For small, stable bulges, use plaster washers and corrosion-resistant screws to draw the surface toward sound lath or framing. Tighten gradually, avoiding over-compression.
Large, sagging, water-damaged, or ceiling sections require a plaster specialist, especially where Decorative plaster finishes are present. A professional can match historical plaster techniques and preserve original fabric.
Never disturb suspected lead paint or asbestos without testing.
Patch Holes and Missing Plaster
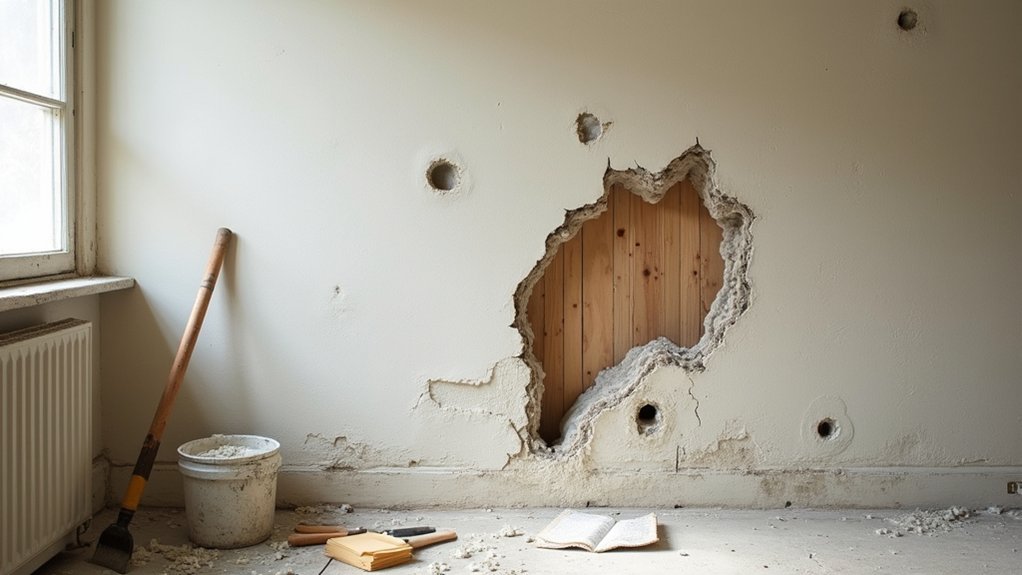
Before patching a hole, identify why the plaster failed and confirm that the surrounding surface is dry, stable, and free of loose edges. Wear safety glasses and a dust mask, then brush away debris without enlarging the opening unnecessarily.
For small holes, dampen the edges and press in compatible patching plaster, building it in thin layers. For deeper voids, secure replacement lath or backing first, then apply a base coat and finish coat.
Match the existing plaster’s hardness and vapor permeability; avoid rigid cement products on traditional lime plaster. Let each layer cure according to the manufacturer’s instructions, and lightly level the surface before final smoothing.
Preserve surviving moldings and tool marks to support historical authenticity. Choose Decorative finishes that match the room’s period, texture, and sheen.
Repair Peeling Paint Over Sound Plaster
Peeling paint doesn’t always mean the plaster beneath it has failed. Tap the surface lightly; a firm, consistent sound suggests sound plaster, while hollow areas may need further assessment.
Wear safety glasses, gloves, and a properly fitted mask, especially in homes built before 1978, where lead paint may be present. Don’t dry-sand suspect coatings. Instead, isolate the area, use controlled wet methods, and collect debris safely according to local regulations.
Gently scrape loose paint with a broad scraper, stopping where the coating remains firmly bonded. Feather sharp edges with fine abrasive paper only after confirming the paint is safe to disturb.
Vacuum dust with a HEPA-filtered machine, then wipe the surface with a damp cloth. Preserve intact layers where possible: this supports historical preservation and protects evidence of earlier Decorative painting without disturbing sound plaster.
Match the Finish and Prevent Damage
Once the surface is clean, match the existing paint’s sheen, color, and texture before applying a finish coat. Test your color and sheen on a concealed area, then let it dry fully; wet paint can look misleading.
Feather the repair beyond its edges with a fine roller or brush, using thin, even coats. Among the best finishing techniques, lightly sand between coats only after the surface cures, and remove dust with a tack cloth.
Wear eye protection and a suitable respirator when sanding, and ventilate the room.
For preventing future damage, correct leaks, improve ventilation, and keep exterior water away from the wall. Don’t paint over damp plaster or unstable material.
Allow each coat to cure according to the manufacturer’s instructions before reinstalling fixtures or washing the surface.
Frequently Asked Questions
Can I Preserve Original Decorative Plasterwork During Repairs?
Yes, you can preserve original decorative plasterwork by documenting Decorative detailing, testing compatible materials, and repairing rather than replacing. Consult a conservation specialist, maintain historical accuracy, wear protective equipment, and avoid aggressive sanding or moisture.
When Should I Hire a Professional Plasterer?
Hire a professional plasterer when cracks widen, ceilings sag, damp persists, or decorative details risk damage—the plasterwork is your home’s skin. You can try DIY techniques, but weigh cost considerations, safety, and specialist experience carefully.
How Long Should Repaired Plaster Cure Before Decorating?
Let repaired plaster cure for at least seven days before decorating; thicker areas may need longer. For Painting preparation, confirm the surface feels dry and firm. Maintain Moisture control, then prime before applying coats.
Is Plaster Repair Safe in Homes With Lead-Based Paint?
Yes, you can repair plaster safely, provided you control dust—because lead paint doesn’t appreciate redecorating. Test surfaces, wear appropriate PPE, isolate the area, use wet methods, and hire certified professionals for significant disturbance or contamination.
How Can I Minimize Dust and Disruption During Plaster Repairs?
You can minimize disruption with Dust control: seal doorways, isolate HVAC, mist plaster before cutting, and use HEPA extraction. For Noise reduction, schedule work, notify neighbors, protect surfaces, and clean continuously using safe lead-aware practices.
Conclusion
With patience and the right materials, you can restore tired plaster without erasing your home’s character. Diagnose first, then address dampness or movement before making repairs. Wear suitable protection, test older coatings for hazards, and don’t force unstable areas. Use compatible plaster, prepare surfaces carefully, and allow each layer to cure. Small cracks may be simple, but bulges and persistent moisture need professional help. Repair thoughtfully today, and your walls will serve you safely for years.